Dilly Beans
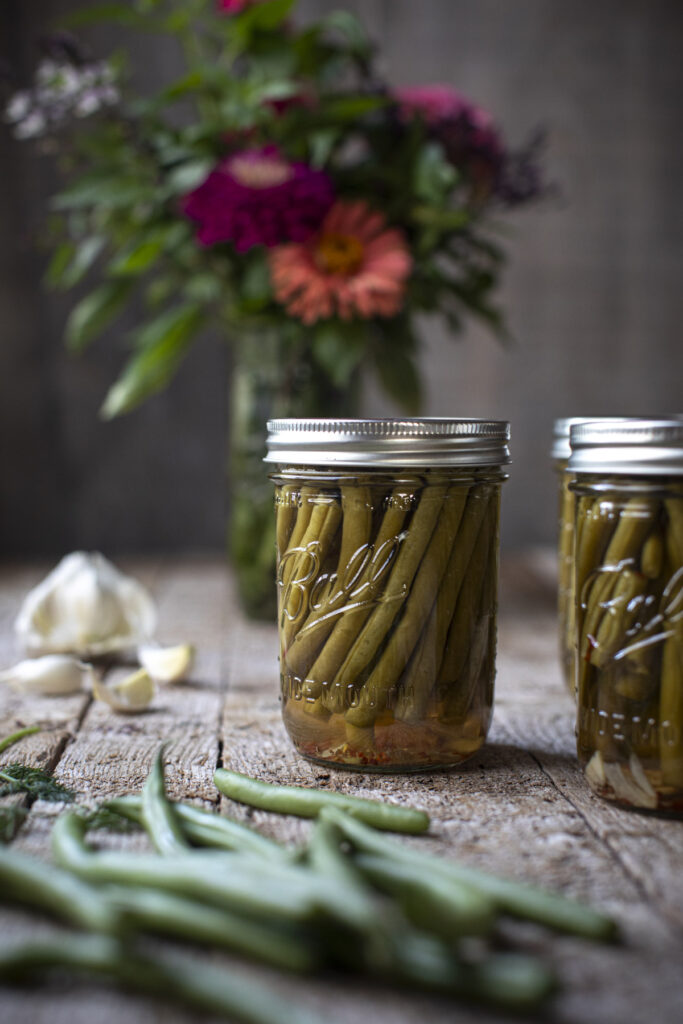
These Dilly Beans are a delightful snack to have on hand! They are perfect for when you are craving something crunchy and salty and they also happen to be very low in calories (which I think is a nice bonus!). You might also be surprised to find out that pickled green beans are quite easy to make. The beans are pickled in a brine made from salt, water, vinegar and optional red pepper flakes. For flavor, sliced garlic and fresh dill are sandwiched in between the beans before the brine is added and they are processed in a water bath canning set-up. What I love most about this recipe is it is the perfect way to enjoy delicious summer produce year-round.
A BIG THANKS TO OUR SPONSOR
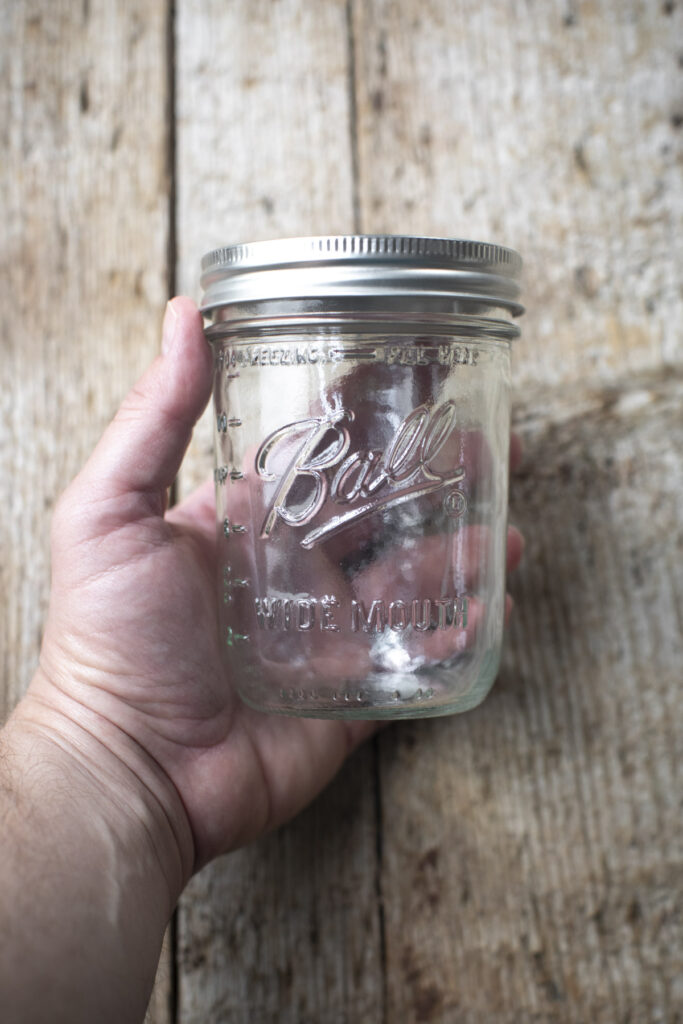
For today’s sponsor, I would like to give a big shoutout to the makers of Ball® home canning products! I am a huge supporter of the brand and highly recommend their products for so many reasons. First, I literally use their jars and lids every single day in my home and in my kitchen. Secondly, their products are the only ones I use when I want to can produce. I am quite literally obsessed with any wide mouth jar Ball® offers. In addition to canning, they are easy to use for storage and lovely to use for drinking. For today’s recipe, I will be using their Wide Mouth 16 oz. Pint Jars. To get your own set, tap the link here!

LET’S TALK ABOUT WATER BATH CANNING
Before I show you how to make these dilly beans, I want to talk a little bit more about water bath canning. Check out this excerpt from Ball®’s website which explains it perfectly:
A lower-temperature canning process, water bath canning is ideal for high-acid foods and recipes that incorporate the correct measure of acid. The combination of time and temperature destroys mold, yeast, and enzymes that cause spoilage while creating a vacuum seal.
DON’T BE OVERWHELMED
Now I know that a process like this may seem overwhelming at first but, from personal experience, I can honestly say that after you do it once- it becomes much easier! I also think that because this recipe is so simple, it’s a great starting point. Check out this post and watch the video to help you understand the process.

EQUIPMENT NEEDED FOR CANNING THE DILLY BEANS
6 Wide Mouth 16 oz. Pint Jars but you can use any other pint jars that they offer.
Water bath canner is a large pot with a jar rack. You could also use a very large pot with a flexible canning rack which keeps the jars upright and allows for water circulation during the canning process. The canner will also sterilize the jars before filling them with jelly.
A Jar Lifter is a handy tool that makes moving jars to and from the canner safe and seamless. The water and jars will be very, very hot- so this tool is essential!
A Jar Funnel will allow the jars to be full without making a total mess!
A Bubble Remover/Headspace Tool helps to removes air bubbles from the jar. It also measures headspace to ensure a good seal during the canning process.
You can buy all of these separately or in a set like this.

TIPS FOR CANNING THE DILLY BEANS
Working in a clean environment is crucial for canning. The jars need to be sterilized and the lids need to be washed with hot, soapy water. To prep the green beans, you’ll want to clean them well and cut them to about 4 inches in length. I like to measure one and then use that as a guide to cut multiples at a time. Then you’ll slice the garlic, rinse the dill, gather the vinegar, water, salt, and red pepper flakes (if using) and set up a station for canning. I like to use a big wooden cutting board, a clean towel, and I always get in the habit of only using wooden or plastic utensils during the process as you want to avoid using metal with the glass jars. I highly recommend having everything laid out and ready to go as this will make the process smoother.
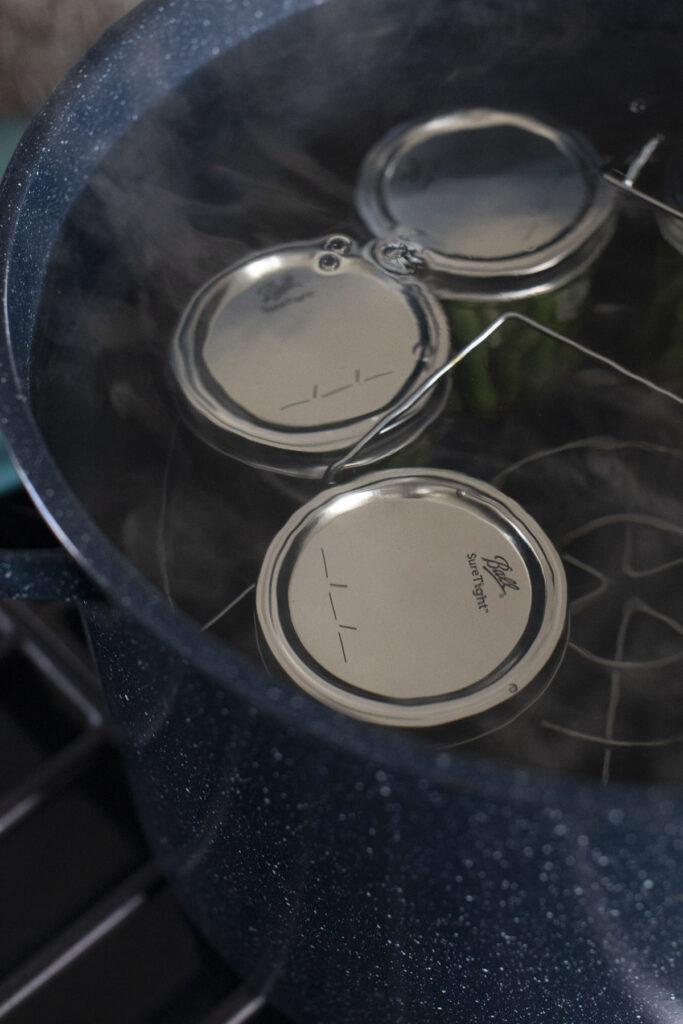
PROCESSING THE DILLY BEANS
The process for making these is quite simple. You’ll make the brine, pack the jars, pour the brine over top, add the lids and then you will process the jars. This will seal them and make them shelf stable. (Here is a great link to check out if you are new to the process). Once done, you will let the jars cool for 12-24 hours before enjoying. You can then eat them on their own or add them to an appetizer board, chop them up and throw them into salads, or gift them to friends and family! I personally love to have them as a snack.
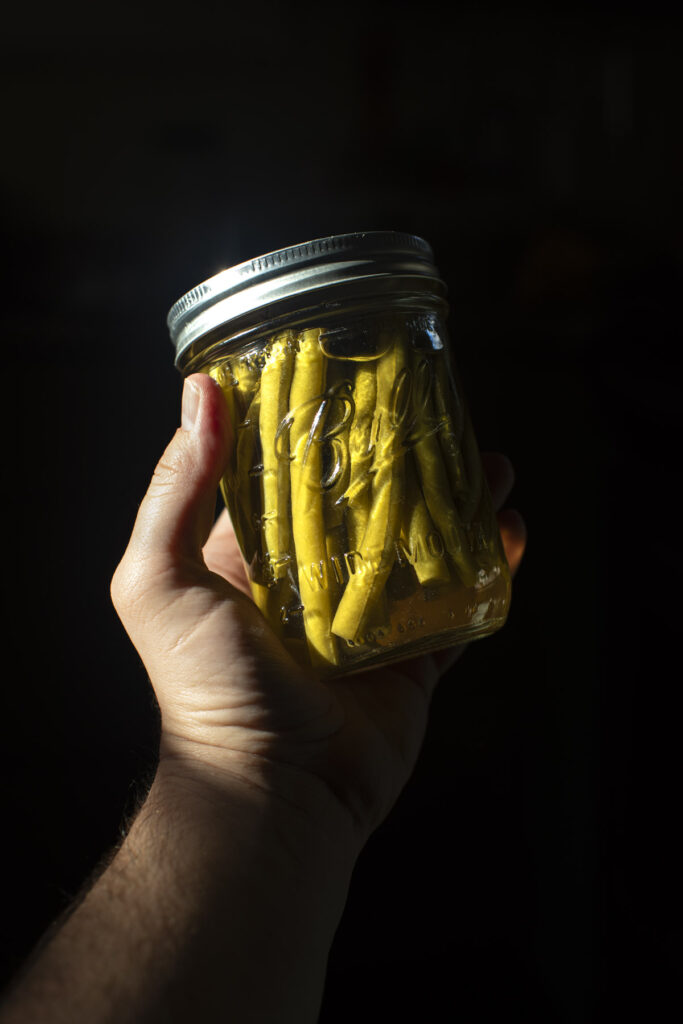
ENJOY THESE DILLY BEANS!
And there you have it, folks: Dilly Beans! A delightful summer snack that you can now enjoy all year long. If you have any questions about the recipe, please let me know and, if you make these beans, I’d love to hear about it in the comments. Until next time, happy canning!
Timothy

Dilly Beans
Ingredients
- 3 lbs green and/or yellow wax beans, trimmed and cut into jar-length pieces (about 4 inches)
- 3 ¾ cups vinegar, at least 5% acidity
- 3 ¾ cups water
- ⅓ cup Ball® Salt for Pickling and Preserving
- 6 cloves garlic, crushed or thinly sliced
- 6 springs of dill
Instructions
- Wash beans under cold running water & drain. Trim ends off of green beans. Peel garlic and crush or slice thinly.
- Prepare boiling water canner. Heat jars in simmering water until ready for use. Do not boil. Wash lids in warm soapy water and set bands aside.
- Combine vinegar, water and salt in a large saucepan and bring to a boil over high heat, stirring to dissolve salt.
- Place 1 clove crushed garlic and 1 dill sprig into a hot jar. Pack beans cut side up leaving a ½ inch headspace.
- Ladle hot brine into a hot jar leaving a 1/2 inch headspace. Remove air bubbles. Wipe jar rim. Center lid on jar and apply band, adjust to fingertip tight. Place jar in boiling-water canner. Repeat until all jars are filled.
- Water must cover jars by 1 inch. Adjust heat to medium-high, cover canner, and bring water to a rolling boil. Process pint jars 15 minutes, adjusting for altitude. Turn off heat and remove cover. Let jars cool 5 minutes. Remove jars from canner; do not retighten bands if loose. Cool 12-24 hours. Check lids for seal, they should not flex when center is pressed.
IF YOU LIKE THIS DISH, TRY THESE RECIPES:
*Disclosure: This is a sponsored post that is part of an ongoing partnership with the Fresh Preserving Division of Newell Brands. They have provided jars, equipment and monetary compensation. All thoughts and opinions expressed remain my own.