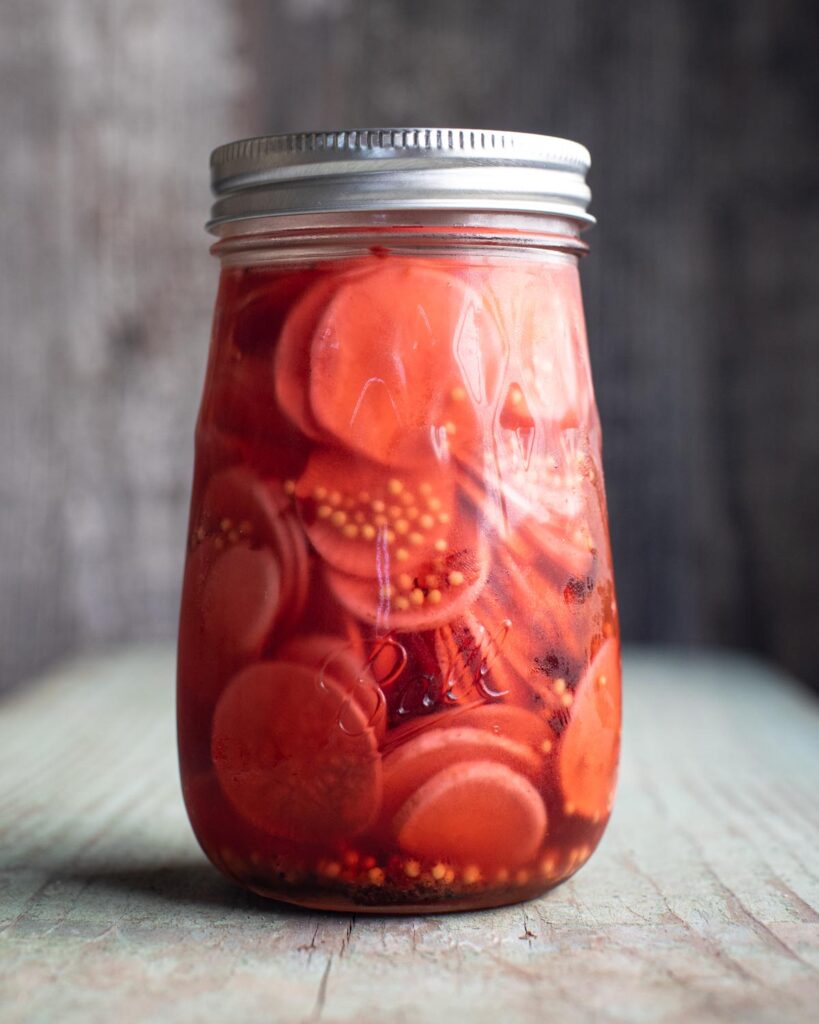
Hello my lovely readers! Today I will be showing you a super simple and delightful condiment that will brighten up any dish: Sweet Pickled Radish. These pickled slices of peppery radish have a nice crunch while offering the perfect amount of sweetness and acidity to elevate a dish.
What I love most about this recipe is that it uses a quick refrigerator pickling method which lasts up to 4 months. Simply pour a brine over sliced radishes and pop them in the fridge. You seriously can’t get easier than that! Whether it be to top a salad, tacos, or a grain bowl or even to garnish alongside some homemade sushi or noodles, these pickled radishes will be a lovely addition to your condiment repertoire.
As a proud Ball® ambassador, I am excited to let y’all know that today’s post is sponsored by the makers of Ball® home canning products. This recipe is excerpted from The All New Ball® Book of Canning and Preserving, published by Oxmoor House (2016), so big thanks to them for sharing. For this recipe, I am using their gorgeous Ball® Flute Mason Jars which are the perfect size for these pickled radishes. I love the curved sides and beautiful diamond patterns that these jars offer, making them perfect for not just food but also drinkware and storage. If you’d like to purchase some of your very own, click the link here.
HOW TO MAKE
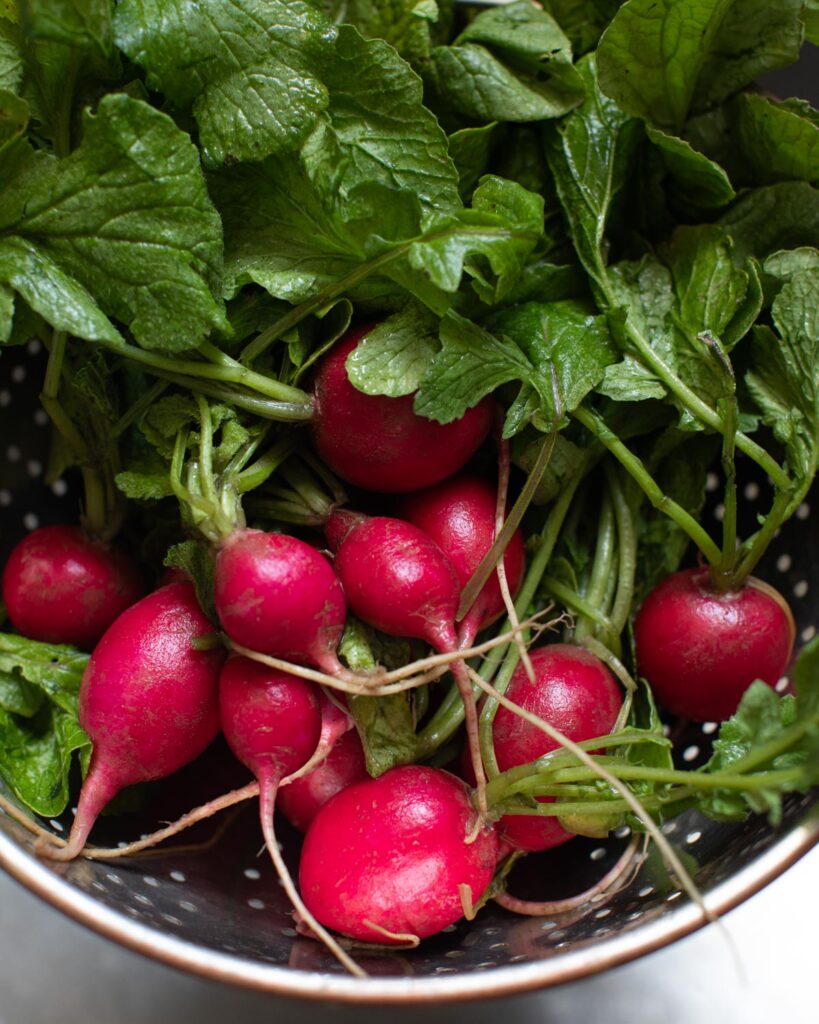
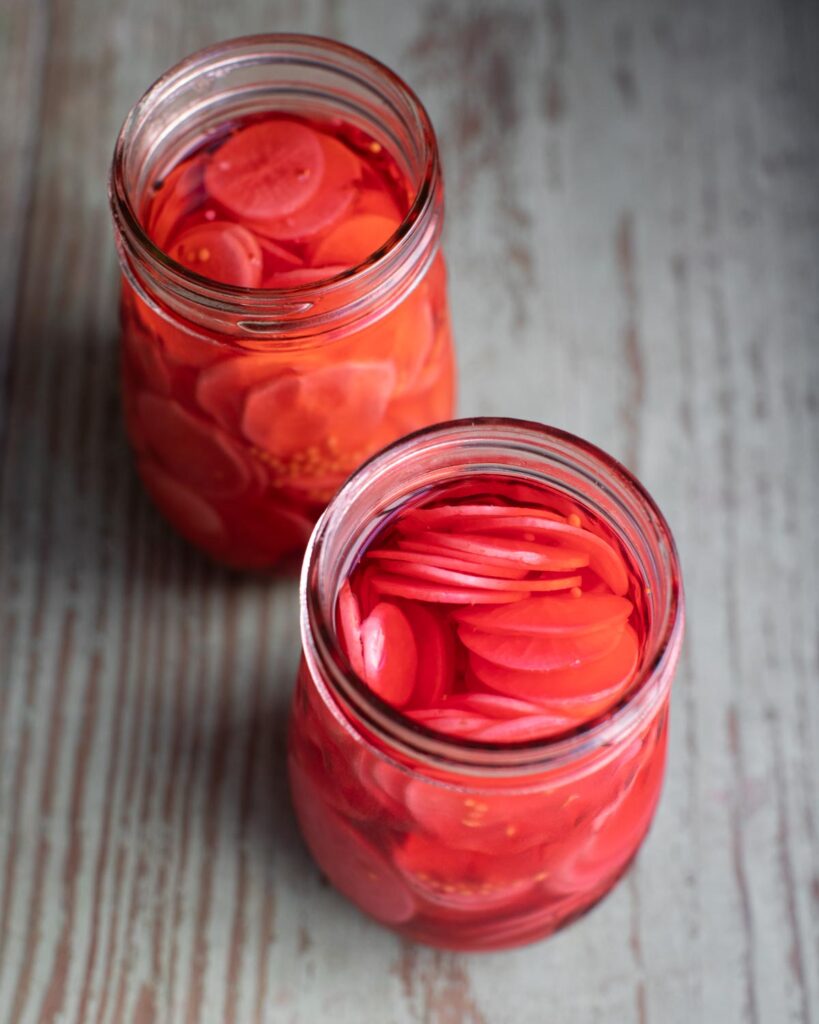
Now for the recipe: the first thing you’ll need to do is find a nice bunch of radishes. I went ahead and doubled this recipe so I could have two jars at the ready. For one jar, I used traditional ruby red radishes and the other batch, I used Easter radishes. After they are pickled overnight, the skins will turn the brine and flesh of the radishes hot pink. So either variety will work. You also can choose between using apple cider vinegar or plain white vinegar. I opted for white vinegar as I prefer the milder taste.
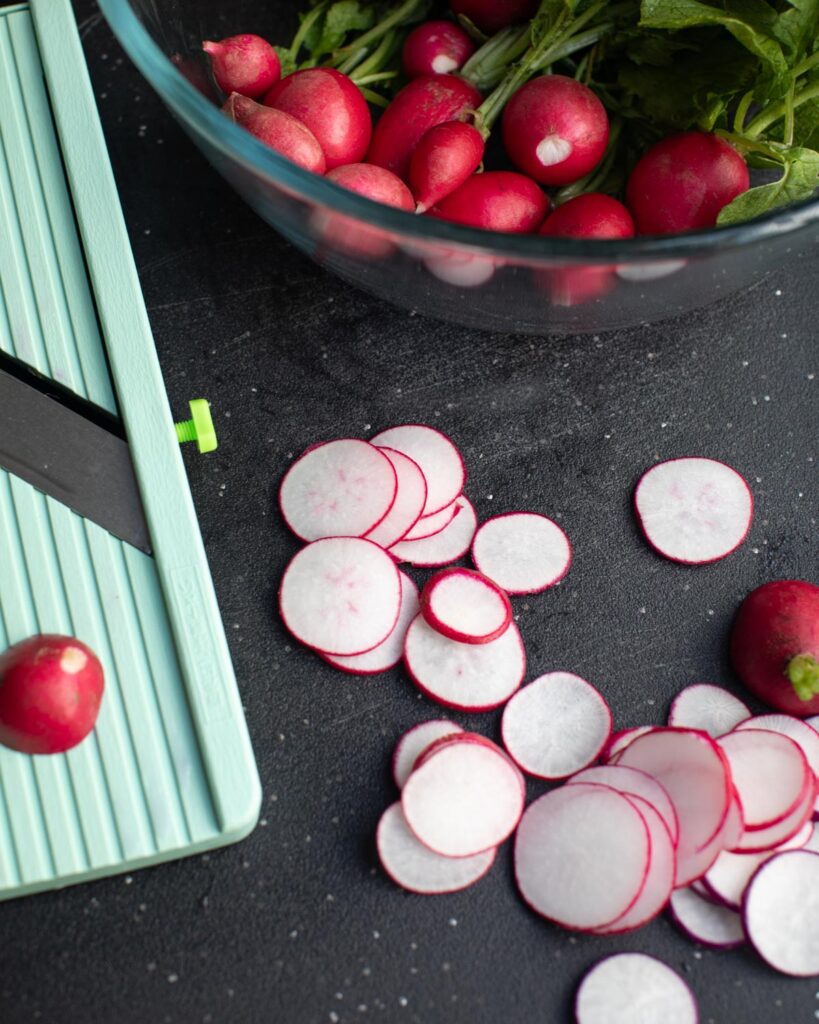
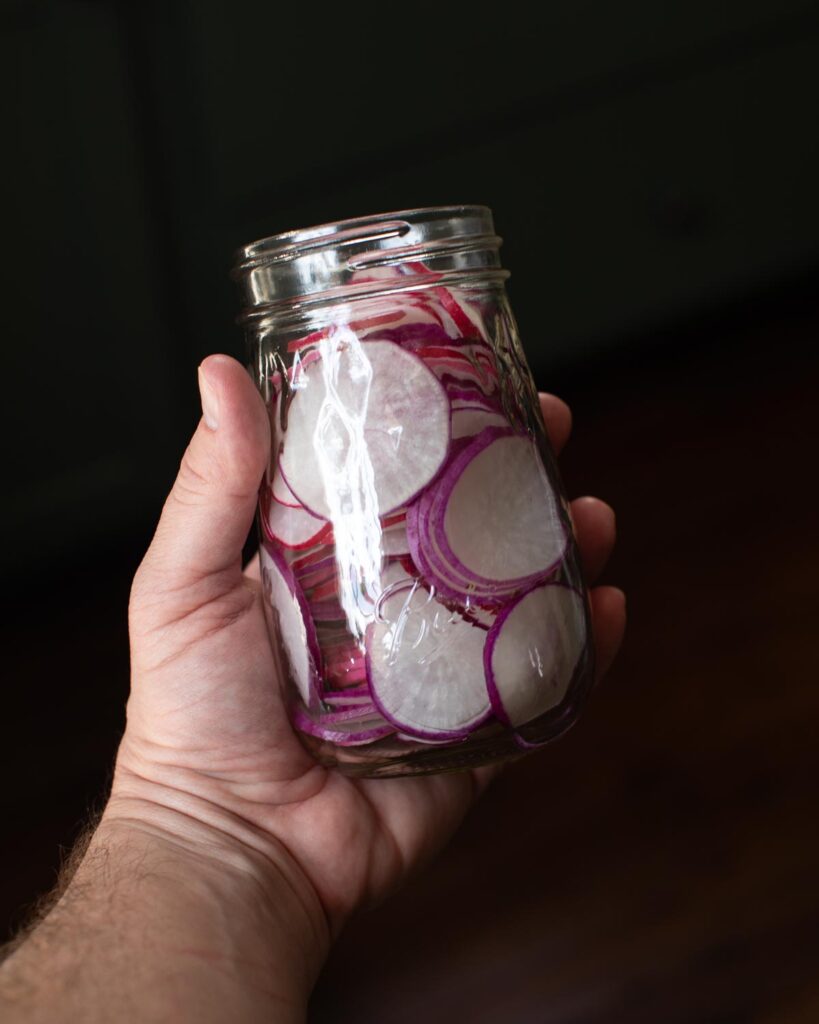
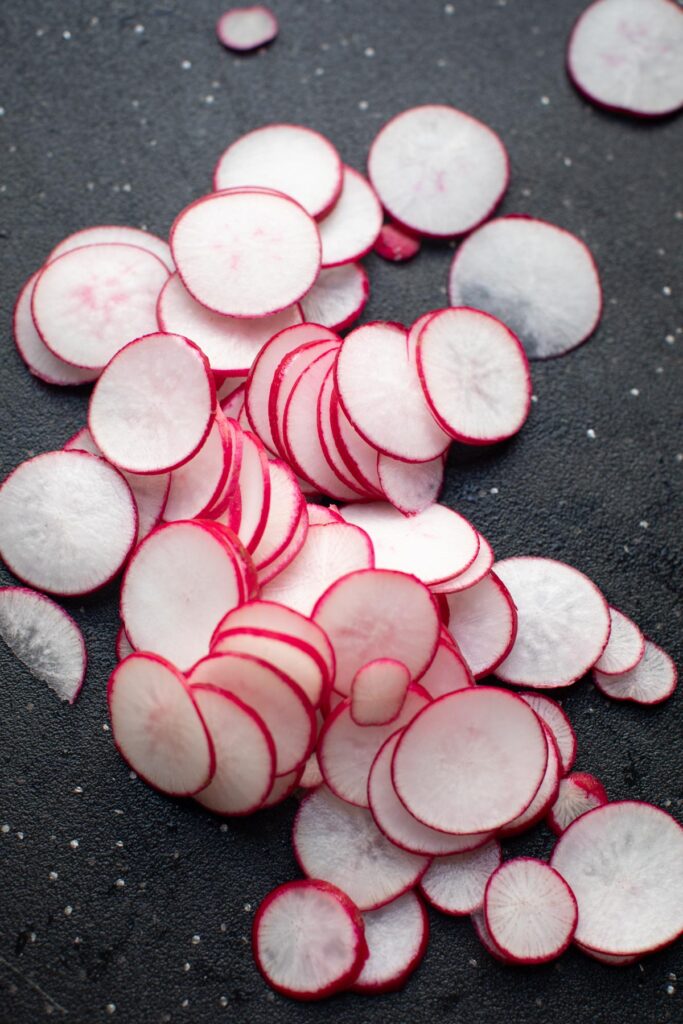
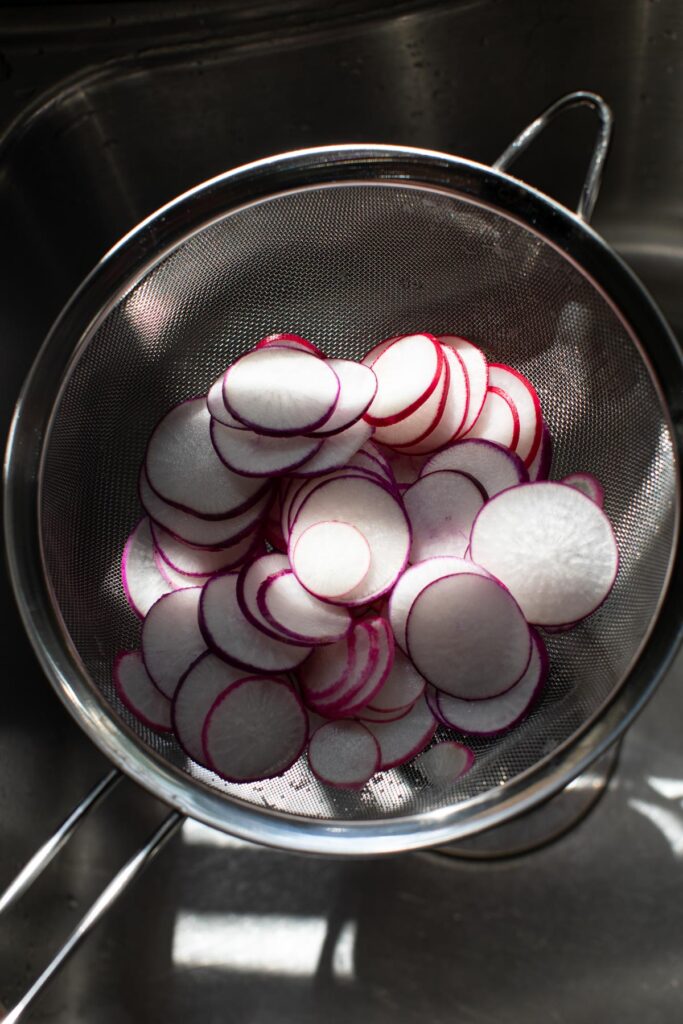
The next step is to rinse the radishes thoroughly! They oftentimes can be quite sandy, so make sure you clean them well. Then you thinly slice them, aiming for 1/8 inch thick slices. I recommend using a mandolin for this but you can certainly use a knife if you don’t have one. When the slices are done, you will add them to some clean jars and then make the brine.
HOW TO MAKE THE BRINE
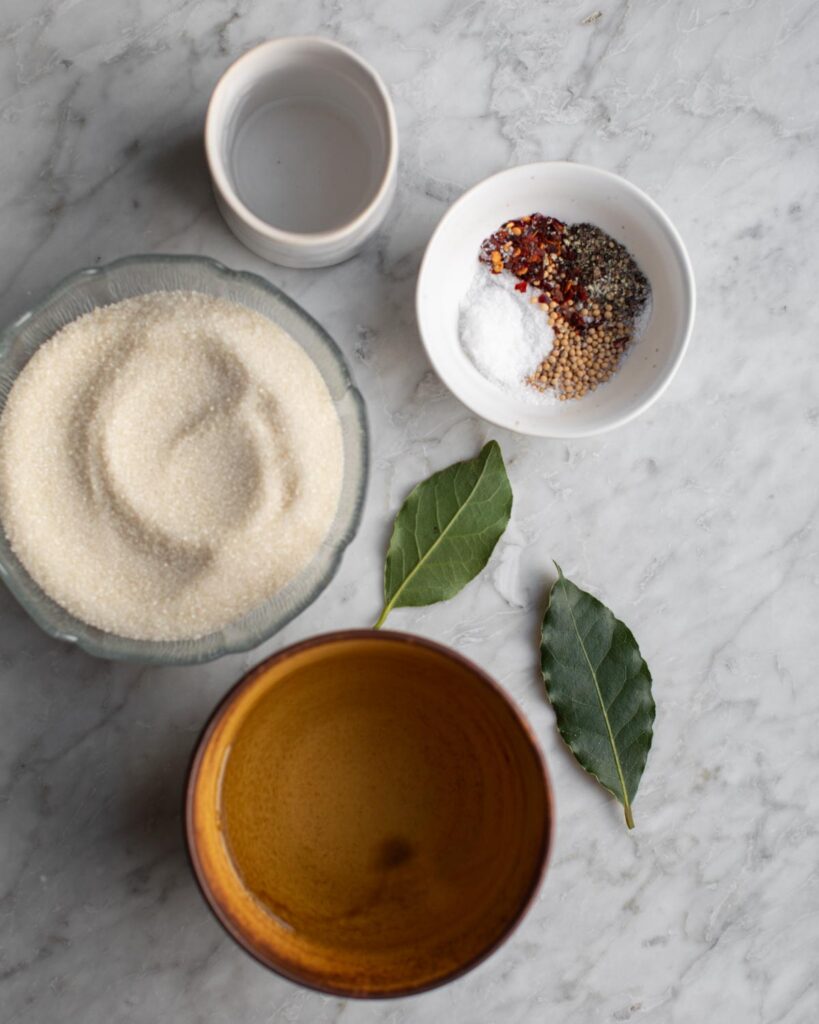
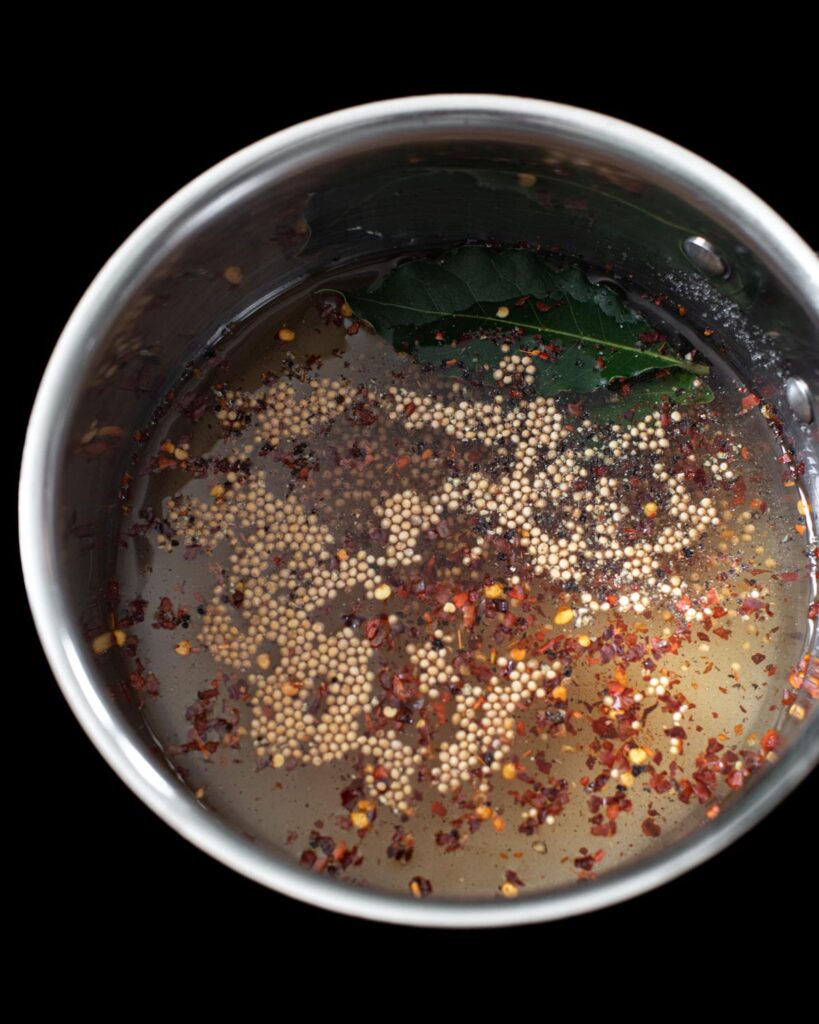
The brine for this recipe is super straightforward. Vinegar for acidity, sugar for sweetness, mustard seeds for flavor, red pepper flakes for heat, and salt & pepper to season. There is also one bay leaf for a little background flavor. Combine all of these in a small saucepan and heat. Then pour over the sliced radishes and you are all done! Place them in the fridge and store them for up to 4 months.
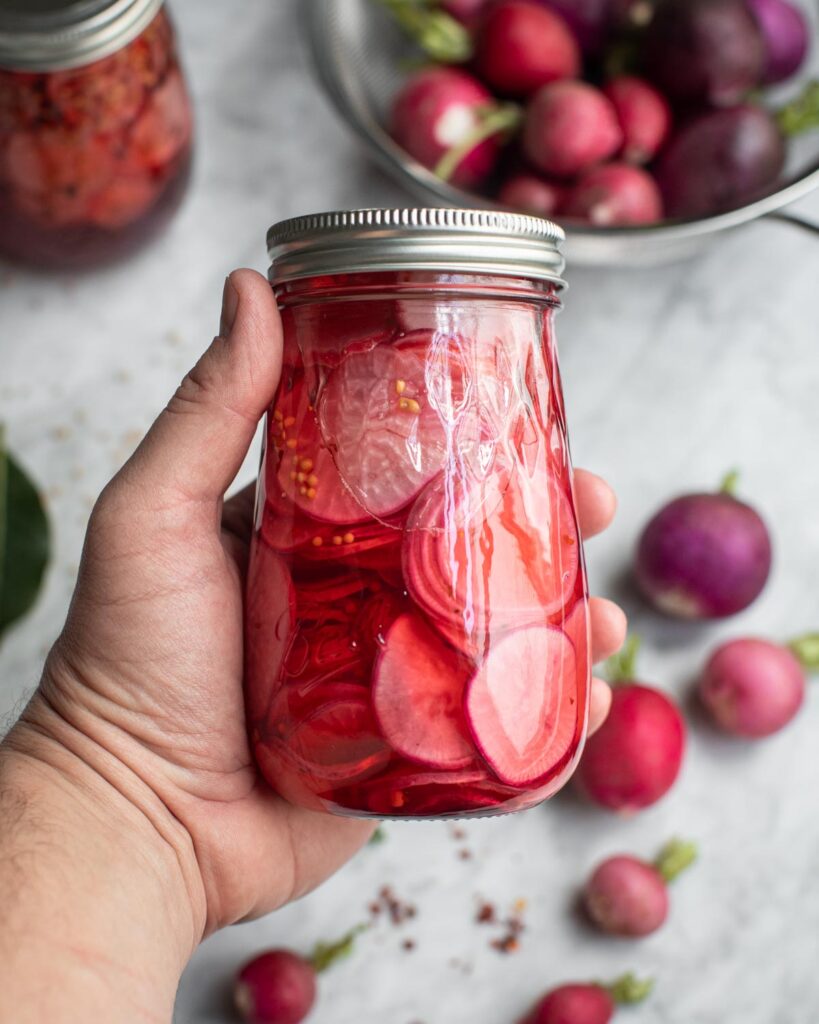
Take a look at the image above. This is what the mixture will look like shortly after the brine is added. And below is what they will look like after one day in the fridge. See that hot pink color!? When I first tried them, they actually reminded me of pickled ginger! Maybe because of the color and peppery flavor? That said, these radishes would be so delicious served with some warm rice and roasted veggies. They’d also be delightful with my garden tempeh bowls.
Well, there you have it folks: Sweet Pickled Radish! I hope that you give this recipe a try. It is so easy and the results are a fun condiment to try with many dishes. I will be sharing a new recipe next month using them, so stay tuned for that. Until then, thank you for being here and happy cooking!
Timothy
1 bunch radishes (about a ½ pound), stem and root ends removed & cut into 1/8 inch slices Place radishes in a hot 1-pint jar. Bring vinegar, next 6 ingredients, and, if desired, crushed red pepper to a boil in a small stainless steel or enameled saucepan. Ladle hot pickling liquid over radishes. Wipe jar rim. Center lid on jar. Apply band, and adjust to fingertip-tight. Let cool on a wire rack (about 1 hour). Chill 6 hours before serving. Store in refrigerator up to 4 months.
Ingredients
½ cup white or apple cider vinegar (5% acidity)
½ cup sugar
¼ cup water
1 teaspoon Ball® Salt for Pickling and Preserving
1 teaspoon mustard seeds
½ teaspoon ground black pepper
1 bay leaf
½ teaspoon dried crushed red pepper (optional)Instructions
*Disclosure: This is a sponsored post that is part of an ongoing partnership with the Fresh Preserving Division of Newell Brands. They have provided jars, equipment and monetary compensation. All thoughts and opinions expressed remain my own.
5 comments
I can’t wait to try these. By the way…clicking on the Print This button took me back to the home page.
Thank you! Also, try using a different browser!
those pickled radishes so delicious
Nothing you create is mediocre. Made this to use for Farro salad
and I’m blown away. Easy to prepare. I love the sweet, the heat and the crunch! You are the master of perfection! Your recipes are consistently over the top!! Thank you, Tim!!
Hi Ida! You are too kind. So happy to hear you liked this recipe. Happy cooking, friend!