Flaky Garlic Cheese Biscuits

Oh, hello. Thanks for joining me here! Real quick, I wanted to ask you a question. What are your thoughts about these flaky garlic cheese biscuits? Do they look good to you? Maybe even irresistible? Could you imagine sinking your teeth into one (or two)?
That’s what I thought.
Lucky for you, I’m sharing the recipe for these flaky garlic cheese biscuits . And because I care, I tested these damn biscuits 7 different times just to make sure they were perfect. I also wanted the instructions to be concise and effective because, hello, it’s my job. With baking, in particular, creating a detailed recipe can be time-consuming. And with something like flaky biscuits, with lots and lots of steps, it can be daunting to document everything. But that’s how much I love you guys. I want to make the world a better place for all of you by offering up these biscuits.
Now, here’s the T. In my mind, there are two different types of biscuits to make from scratch. One way is to dump all of the ingredients into a bowl and scoop the dough straight onto a baking sheet (either using your hands or an ice-cream scoop). This way is super easy, fast and the results are still delightful. Obviously, I’m a fan of this method because both of the biscuit recipes in my cookbook are done this way. This process means there is no dusting of flour on the counter, no shaping, and no cutting. But, the biscuits don’t look quite as pretty as this. And they certainly don’t have those irresistible flaky layers. You could say they are more rustic looking and everyone involved is usually ok with that. I mean, piping hot biscuits with melted butter… who’s going to pass that up? Regardless of how they look.
Now, the second way to make biscuits from scratch is to make the more ‘show boaty’ variety. This includes a beautiful shape and a ridiculous amount of layers. This method requires transferring the dough to a counter (which makes a huge mess), lots of shaping, and cutting. To effectively blitz the butter and shortening, I think using a food processor is the most effective way, which does add an appliance to the method making it more cumbersome. But the reason this is important is because that’s what creates all of those flaky layers. Well, that and using the stacking method. If you don’t know what I’m talking about, I created this step-by-step diagram from you. Shall we look?
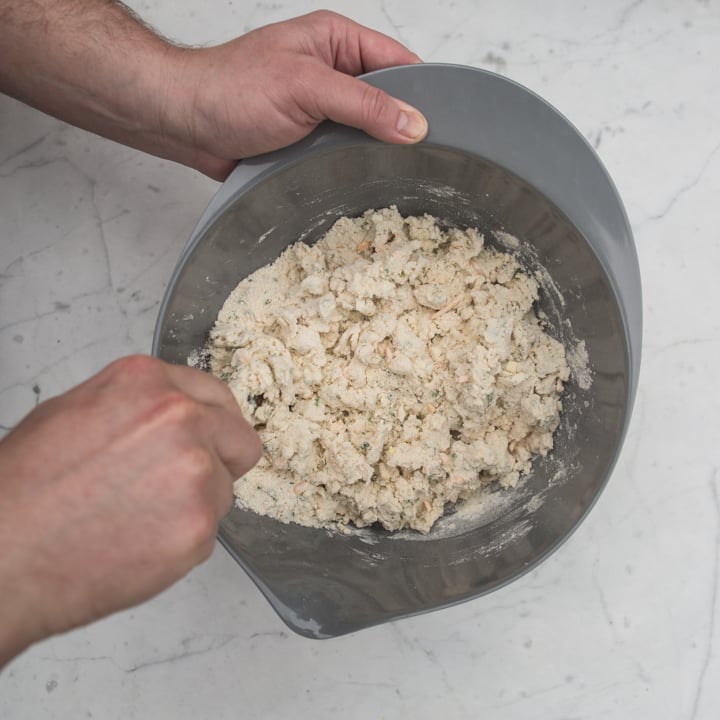
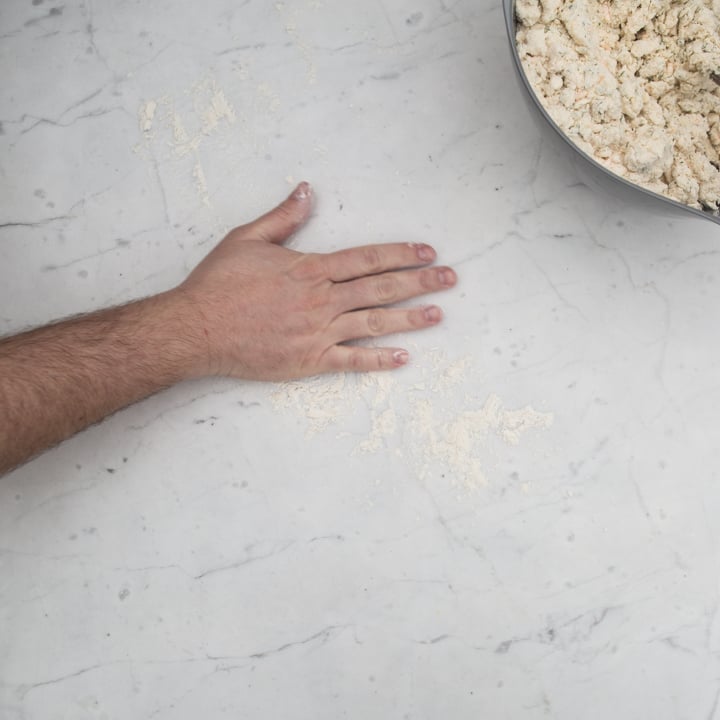
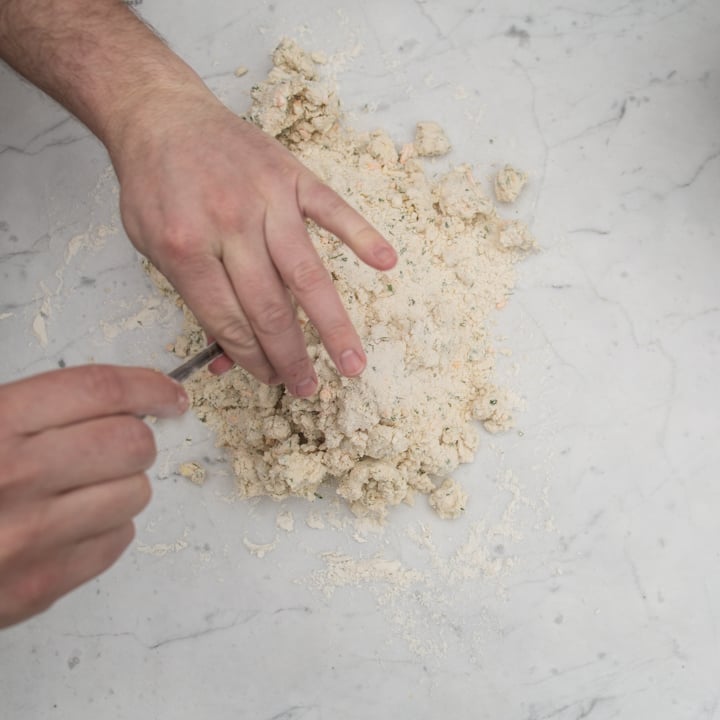
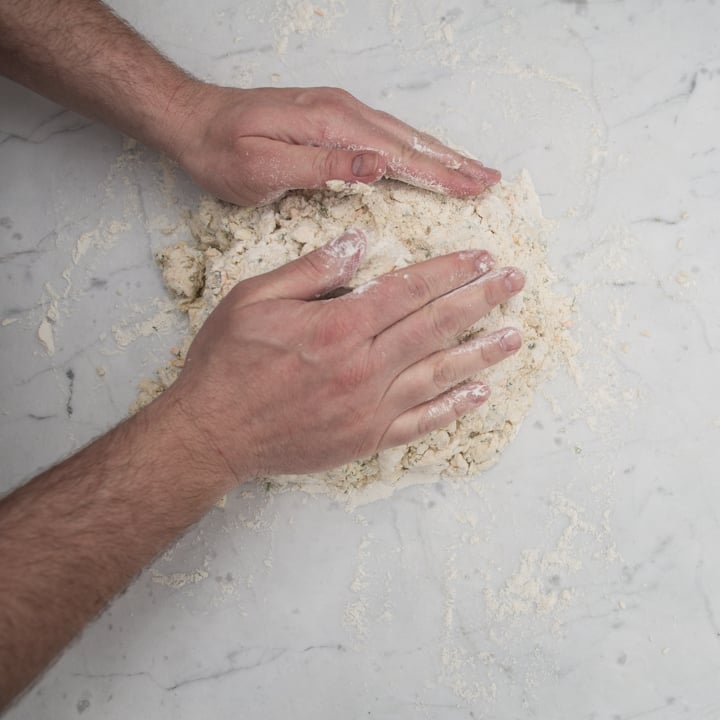
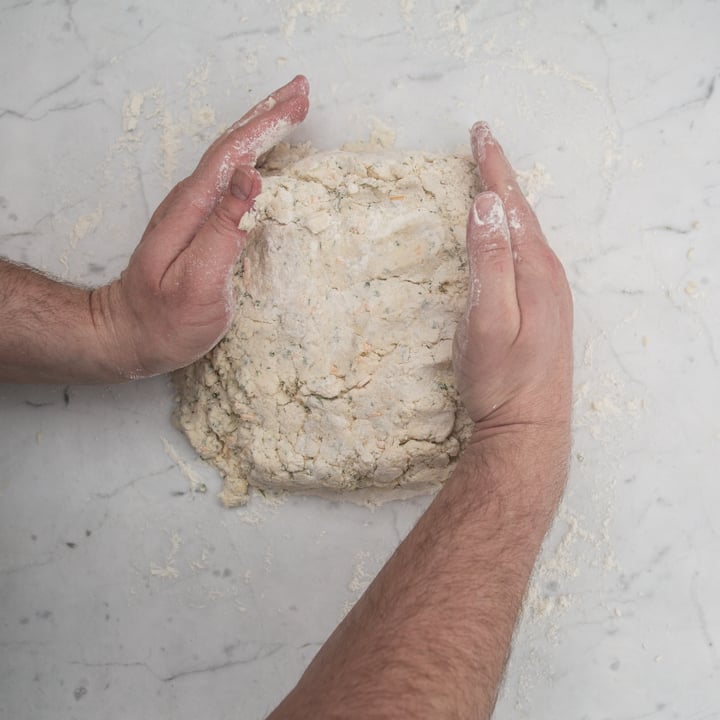


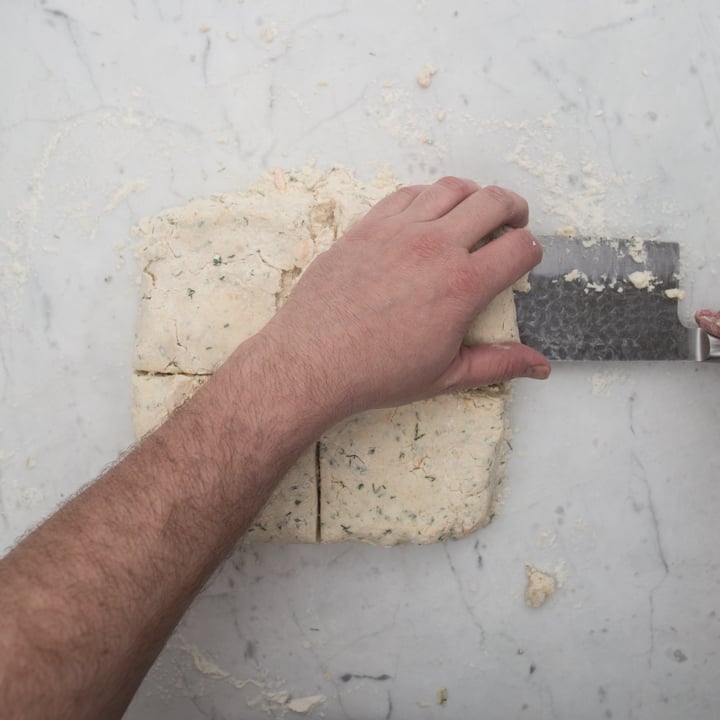
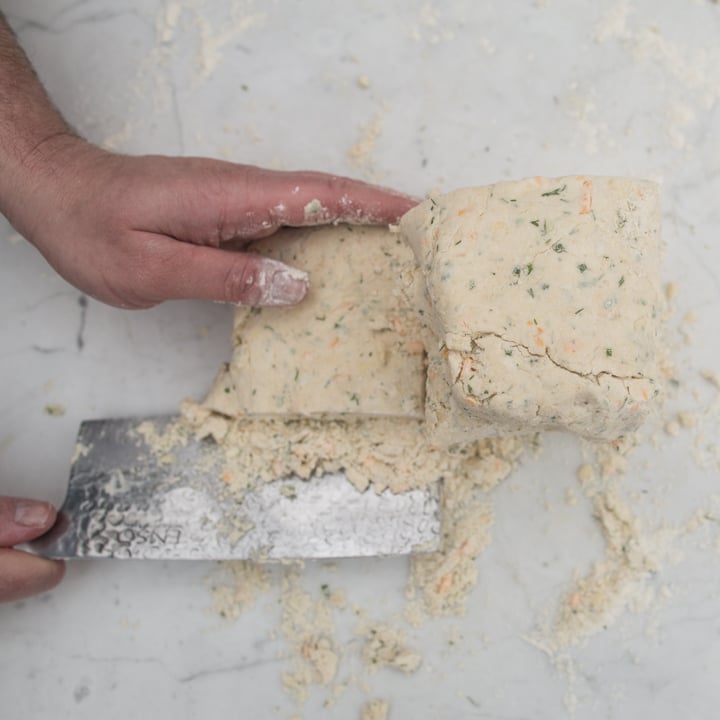
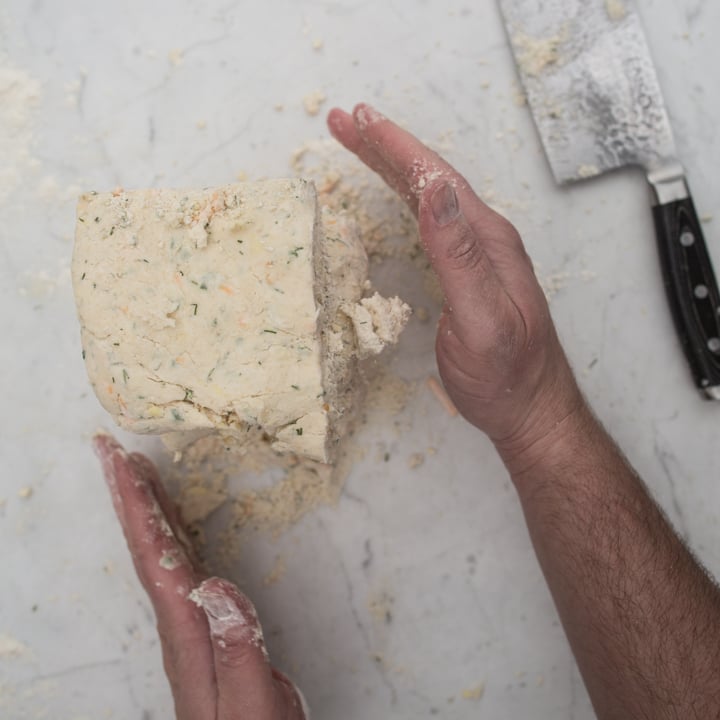
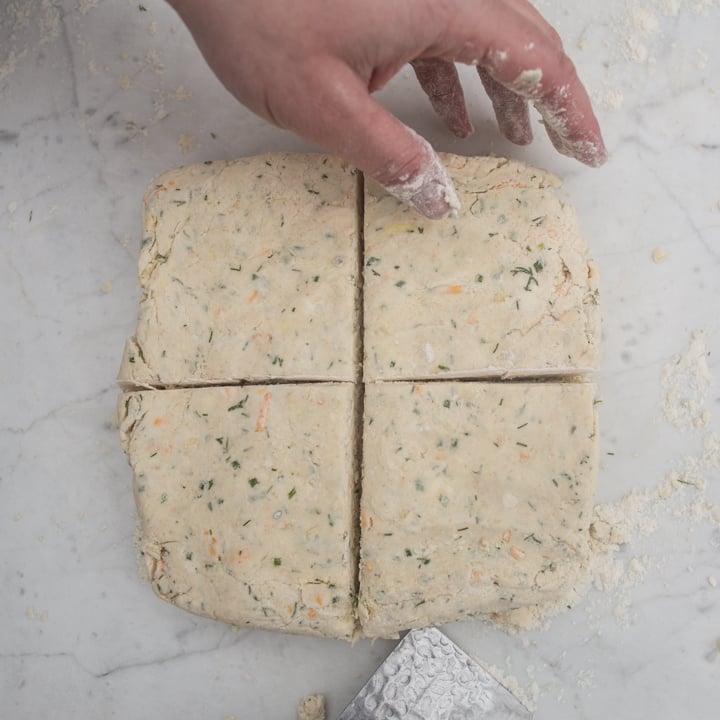


As you can see from the above images, you are dumping the dough onto a floured surface. (Note, it’s supposed to be crumbly and quite dry.) Using your flour-dusted hands, you then press the mound into a square that’s about 2 inches thick. You then cut that into 4 squares and carefully stack them. Here’s where it can get tricky. This dough is crumbly so you might feel like you are failing miserably but don’t have a meltdown! Just stack them as best you can, pressing in the sides as needed. You’re not trying to make the most perfect square in the world here, you are just creating layers.
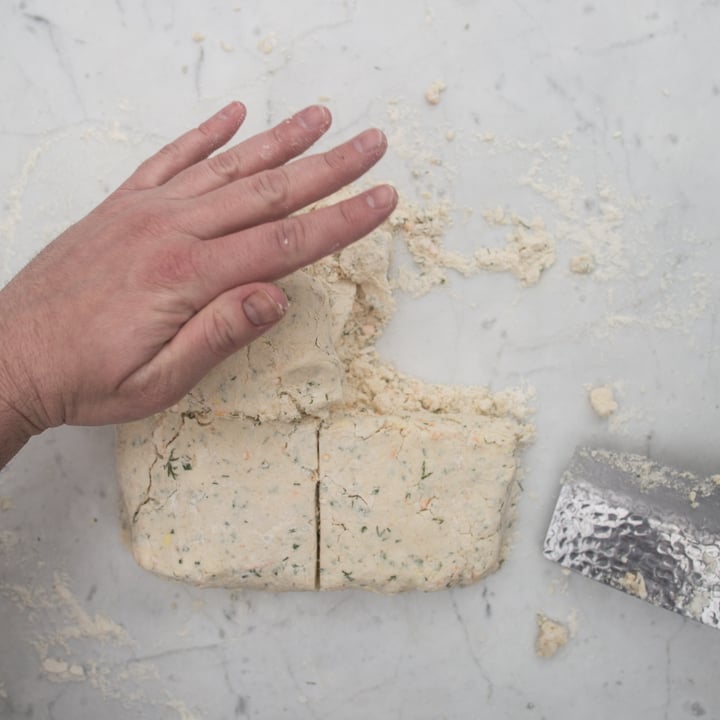
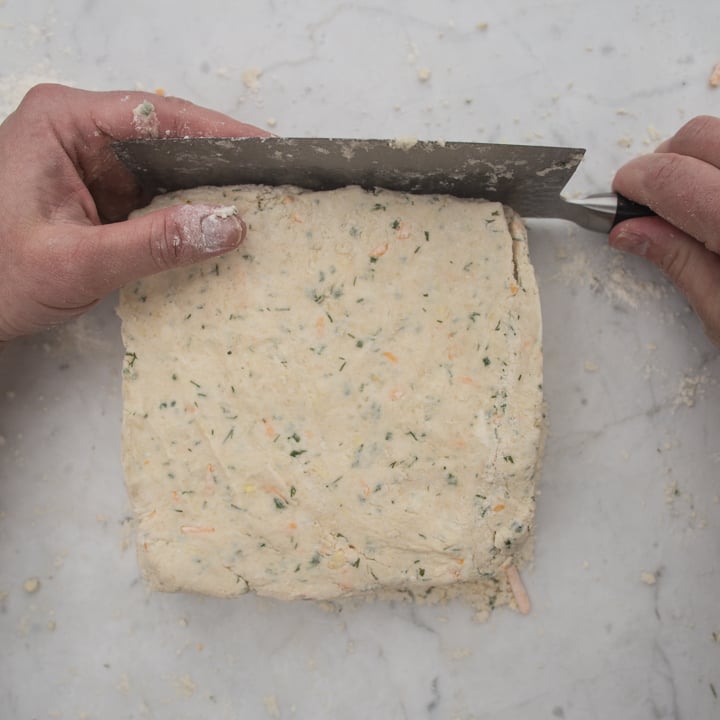
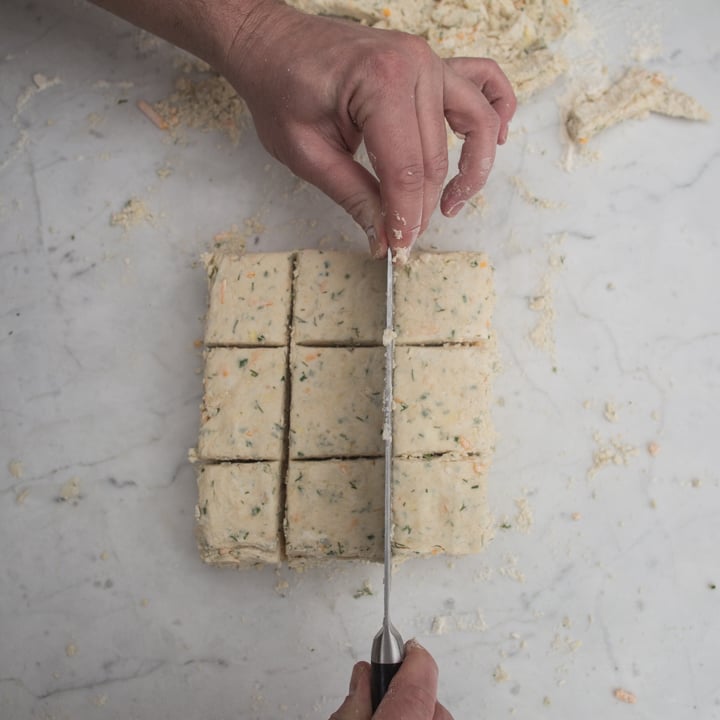
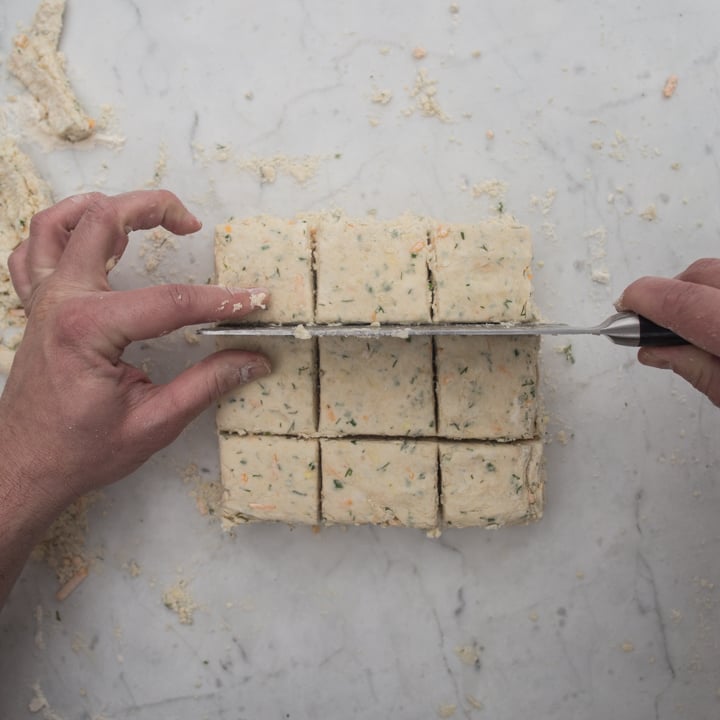
Next, you repeat this step! Cut the square into 4 pieces and stack again. By pressing in on the sides and down on the top, using your hands, knife, or bench scraper to help you as you go, the dough will start to come together. Keep in mind that if you were to add more liquid, the dough would become too wet and you wouldn’t be left with the flakiest biscuit in the world? So please remember that when making these.
Lastly, (and not to scare you) you shouldn’t dilly dally during this step. We want the blitzed up pieces of shortening and butter to not melt. We want little pieces to be floating throughout the biscuit dough so that when the fat is exposed to heat, all of those flaky layers are created. Do you have to work lightning fast? No. But sooner rather than later…
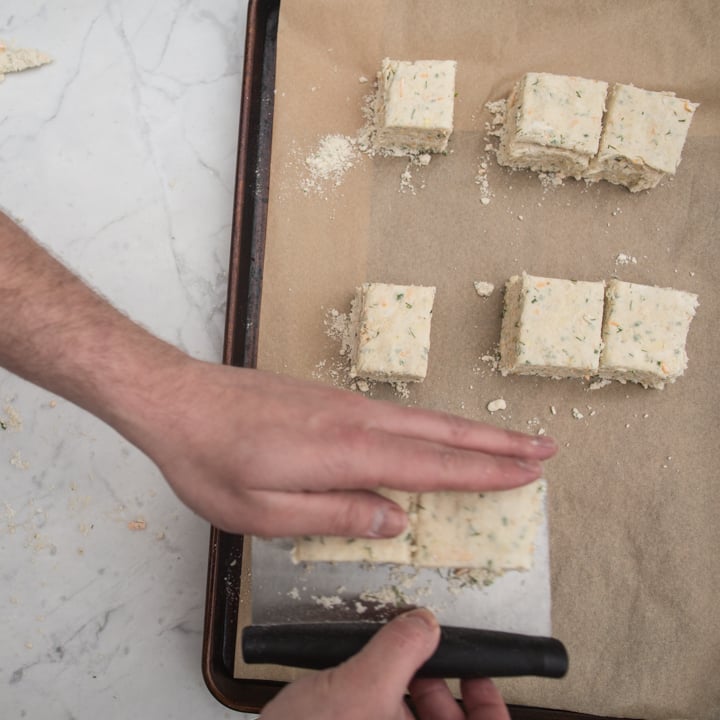
Lastly, you transfer the biscuit squares to a pre-heated baking sheet that’s lined with parchment. This will help the biscuits cook more effectively. To get that lovely browning and for added flavor, the final step is to brush on some melted butter before baking.
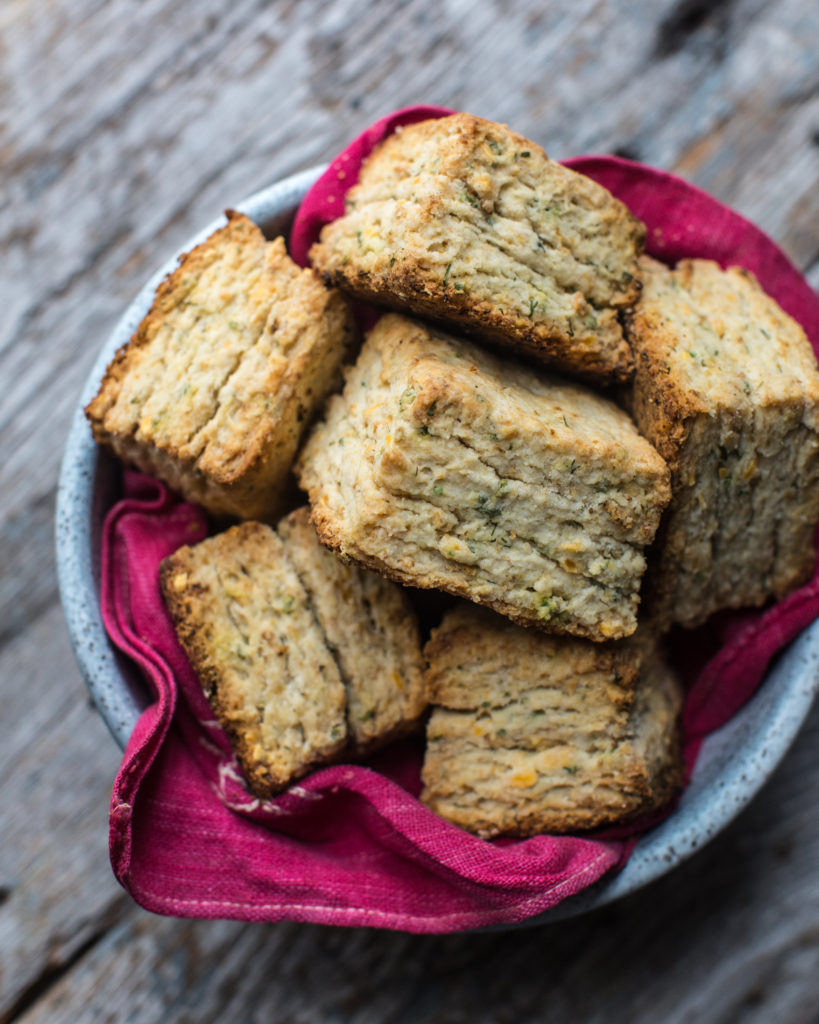
TADA! Look at those results. Stunning, right? Before I give you the detailed flaky garlic cheese biscuits recipe, I also want to address the other ingredients in this recipe. Because these aren’t just any plain biscuit- I thought they should be garlicky and cheesy, with lots of fresh herbs like chive and dill. For the plant-based dairy, I prefer to use plain oat milk and unsweetened plain coconut yogurt (of the thicker variety). In regards to the fat, I prefer using a vegetable shortening in combination with Country Crock Plant Butter. These buttery sticks are my favorite plant-based butter to use. Whether it be for baking or smothering on top of something, the texture and flavor are on point. As an ambassador of these sticks, I highly recommend them!

Flaky Garlic Cheese Biscuits
Ingredients
- ½ cup plain unflavored oat milk, barista style is best
- ½ cup thick plain coconut yogurt, about 5 oz (like Culina or CoYo)
- 4 cups soft winter wheat flour, plus more for dusting
- 2 teaspoons sea salt
- 4 teaspoons baking powder
- ½ teaspoon baking soda
- 2 tablespoons organic sugar
- ½ cup vegan cheddar style shredded cheese
- ¼ cup chopped garlic
- ½ cup chopped chives, fresh
- ½ cup chopped dill, fresh (optional)
- 3 tablespoons vegetable shortening, chilled (should be solid)
- 1 cup Country Crock Plant Butter, (two plant butter sticks), chilled and chopped into cubes + more to brush on top (melted)
Instructions
- Preheat oven to 450° and place a large baking sheet in the oven.
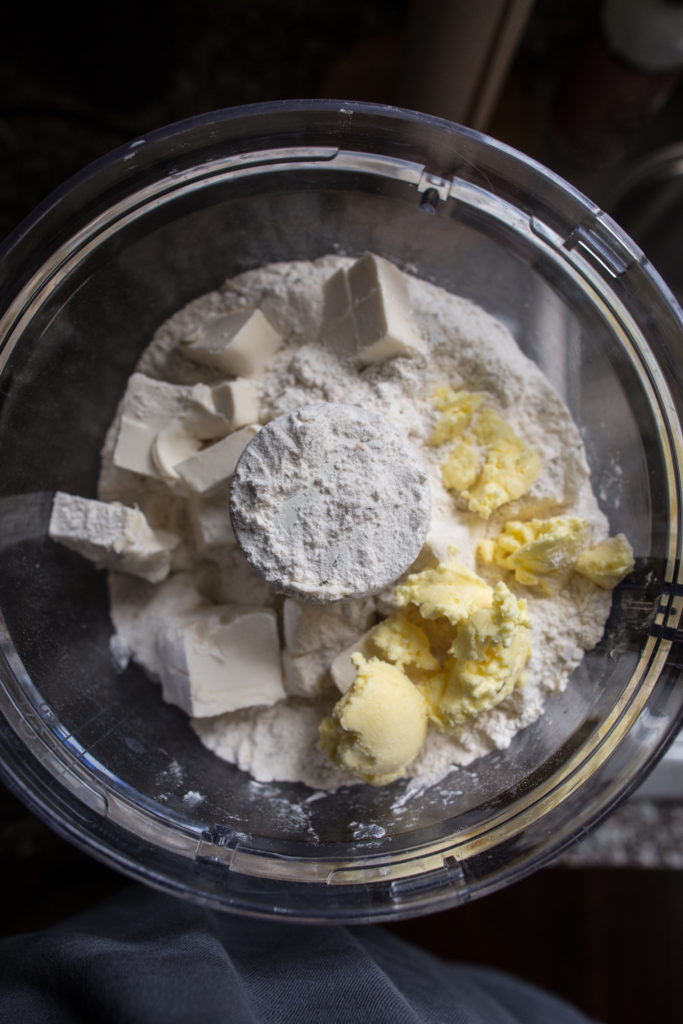
- In a small bowl, whisk together oat milk and yogurt. Place in fridge to chill. Combine flour, sea salt, baking powder, baking soda and sugar in a food processor. Pulse a few times to fluff up the mixture. Add cheese, garlic, chives and dill, if using. Pulse a few more times to incorporate.
- Roughly chop shortening and butter and add to food processor. Pulse ingredients until pieces of butter and shortening are pea-sized. Do not pulse too much! Transfer mixture to a bowl.
- Create a well in the dough and add chilled oat milk and yogurt mixture. Using a large fork, gently incorporate the dry into the wet. If there are any large chunks, use the fork to break them up.
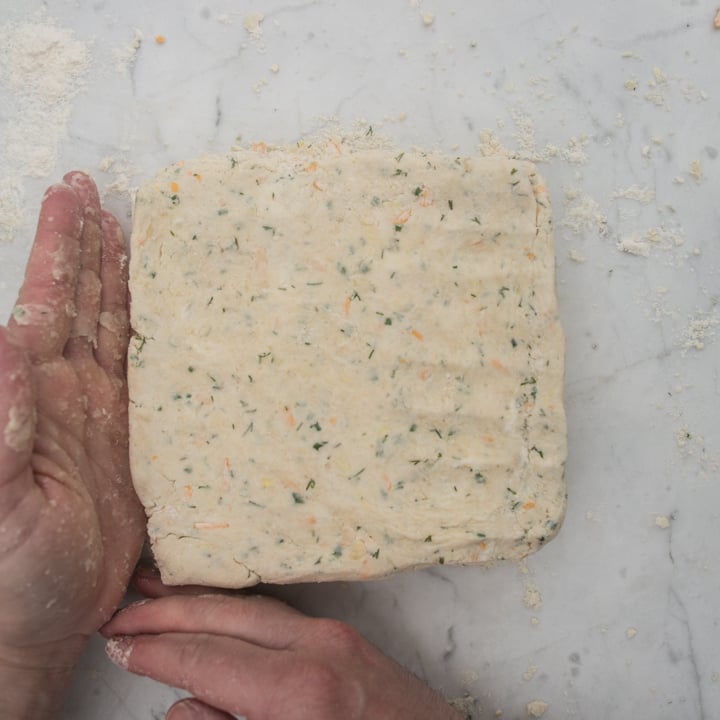
- Transfer dough to a flour-dusted surface. Press with your hands a couple of times to combine the dough and further incorporate. Pat into a 2-inch thick square.
- Using a sharp and flour-dusted knife, cut dough into 4 pieces. Stack pieces on top of one another, press down to flatten. Pat dough into a 2-inch thick square. Repeat this step. Using the floured-knife, trim a thin border around sides of dough to create clean edges. Cut into 9 biscuits.
- Carefully, remove the heated pan out of the oven and line with parchment paper. Transfer the biscuits to the pan, leaving a few inches of space in between. Brush the tops with melted butter and bake for 25 minutes, until golden brown.
Notes
This post is sponsored by Country Crock® Plant Butter. All opinions and recipes are my own.
Hi there! These look awesome! May I ask what brand vegan cheese you used for these and / or recommend? I’ve tried so many and some are hits and some are misses. I want to make sure these come out tasting exactly like you intended! 🙂 Thanks!
Violife is probably my favorite. Try using their ‘Mature Cheddar’ with these. I also like Chao Cheese by Field Roast. Thirdly, Follow Your Heart slices work nicely too if you chop them up.
Timothy-
You are a Jedi!! These were amazingly fluffy and tasty. I love the layering technique, so smart!
Thank you!!!
Oh, awesome! I know this recipe can be a lot of work so I am happy to hear that you enjoyed the process. Happy baking!
Do you think I could sub sourdough discard for the yogurt? These look amazing.
I bet that would be awesome! I will say, the coconut yogurt creates a lovely richness though.
Thank you!
Ok, so I made these for Valentine’s Day as a side and wow. They’re super flaky and packed with flavor. I used coconut oil instead of shortening, because I forgot it at the store and they still came out perfect. I was going to take a picture, but they were devoured too fast. Great job on this recipe. ?
Oh, that’s great to know. I am so glad that you liked them. The fact that you couldn’t take a picture because they were gobbled up is a good sign in my opinion!
This looks amazing and I will definitely be trying! I haven’t used the new plant based butters but saw they have some that use almond oil…have you tried it? Is it overly almondy tasting??
Not at all! It’s just almond oil so it’s pretty neutral in flavor. I tend to use the avocado oil one.
Hi Caitlin,
The Country Crock plant butter is sooo good! My go to used to be the Earth Balance. I was hesitant to try the new Country Crock plant butter, but gave it a try, and I was so happy that I did! I was shocked by how much better the flavor was; it was so much more buttery tasting.
Timothy,
It’s good to see a post from you. You’ve been missed. I hope you are doing well.
I’m so glad you like it! I think it’s the best, too. I love how it comes in sticks as well. Thanks for the sweet message. 🙂