How to Cut & Arrange Zinnias
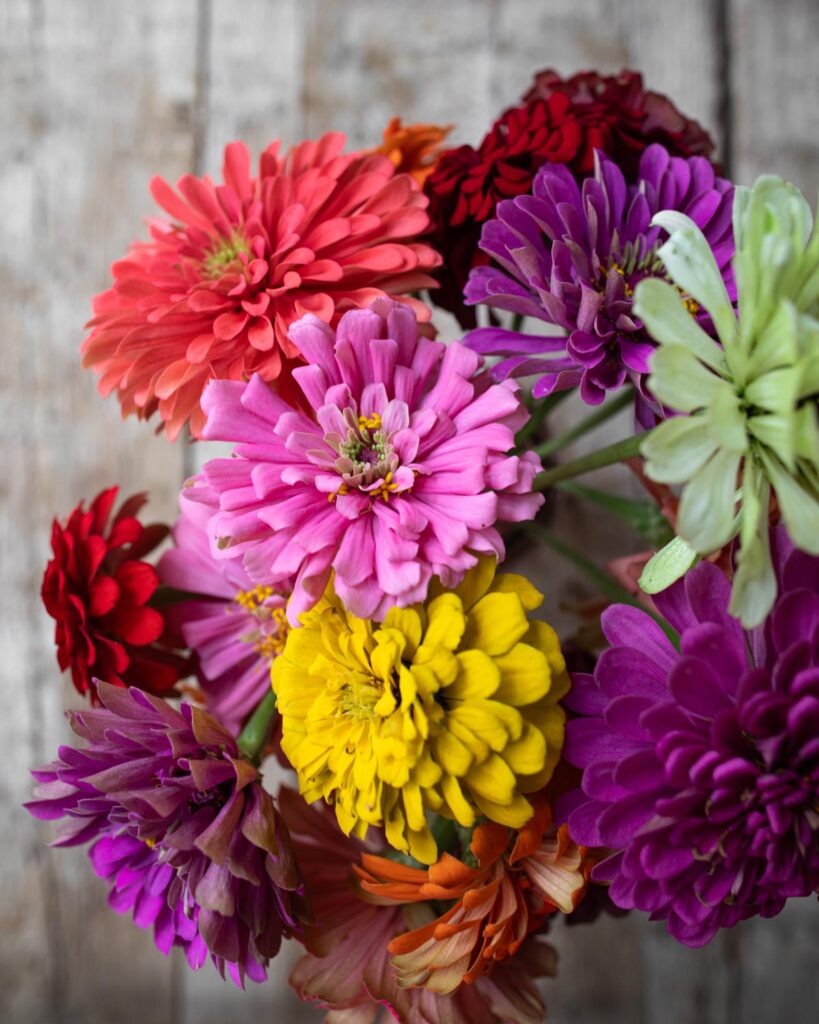
Hello and welcome to a very special blog post! Today I will be showing you step-by-step how to choose, cut, and arrange zinnias. But first, let me tell you why zinnias are one of my favorite flowers to grow:
○ They are easy to start from seed.
○ They are heat and drought tolerant.
○ They work beautifully as cut flowers (lasting up to 2 weeks if done right!)
○ Butterflies absolutely LOVE them.
○ They have a wide range of colors and unique varieties to choose from.
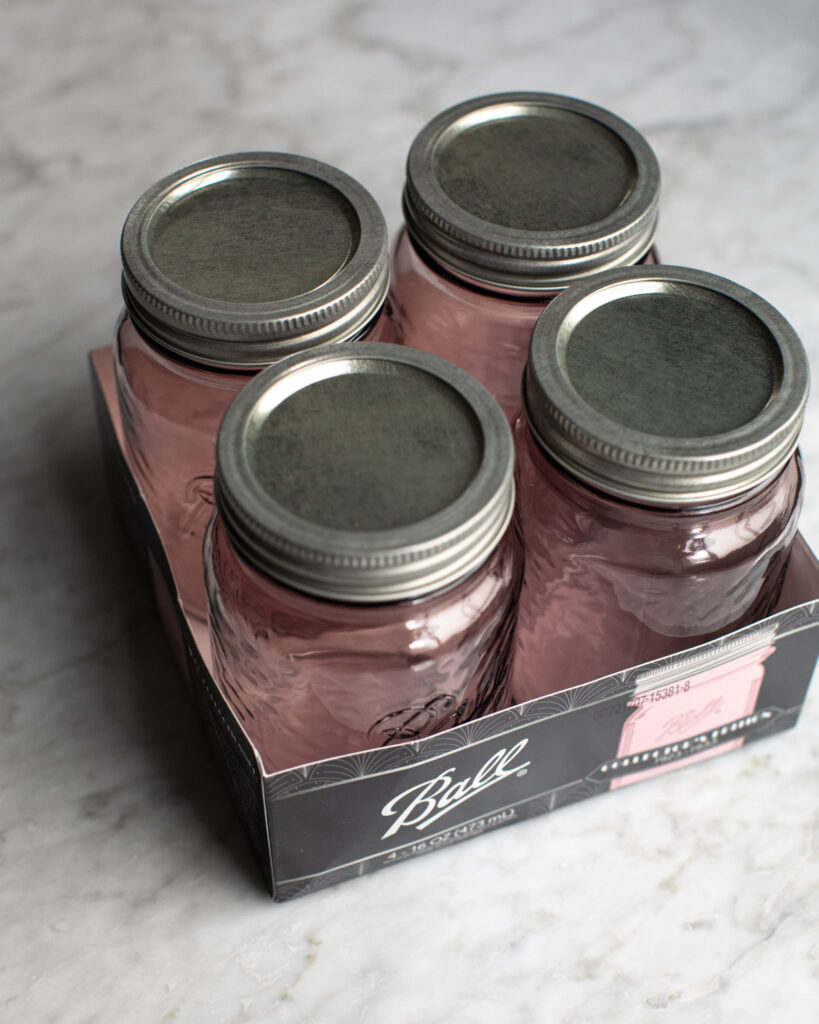
Before we dive in, I wanted to mention today’s sponsor: the makers of Ball® home canning products! Ball® products are a huge part of my life and home. I am so happy to be teaming up with them to showcase their gorgeous Rose Vintage Mason Jars. These limited-edition jars are perfect for canning, drink ware, or to use for kitchen storage. I personally use them for spices and tea. But I especially love to use them for flowers! Let’s discuss.
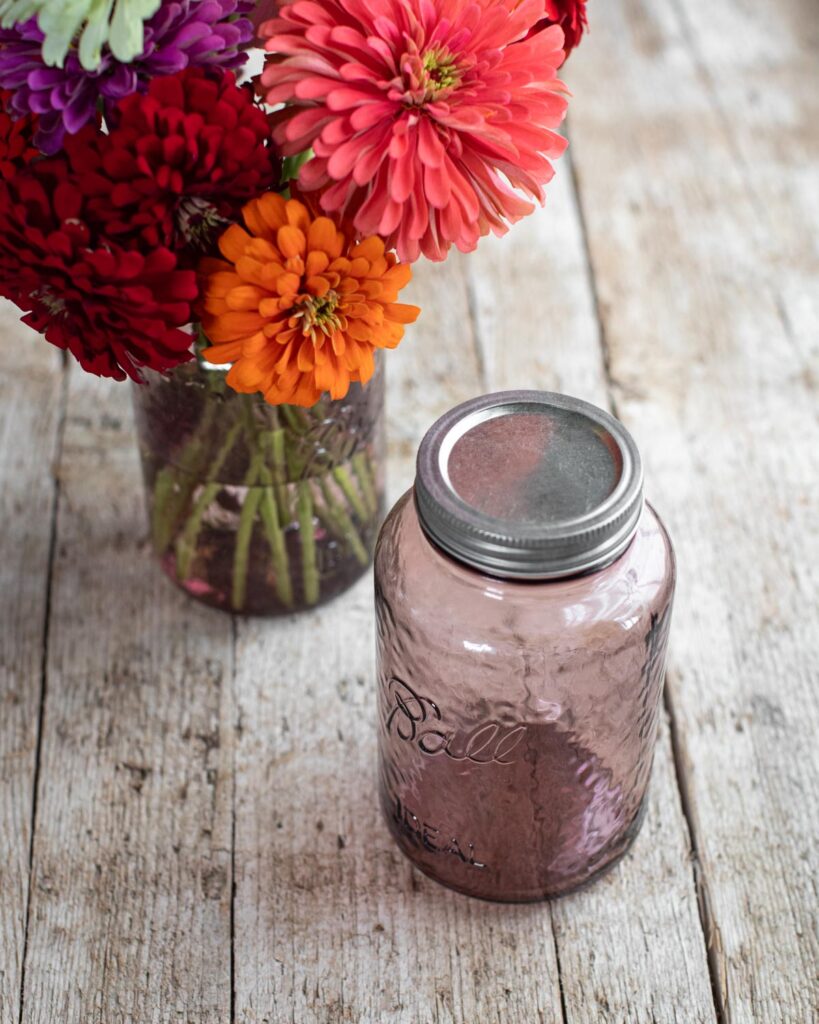
PICK YOUR VASE
The first thing you’ll need to do before heading into the garden is to pick a vase. This usually always involves a Ball® jar in my home. I like to go ahead and have two selected: one small and one large. The larger one will be used for the longer stem flowers and the smaller one for the shorter stems. I love using Ball® Rose Vintage Mason Jars which come in 32 oz. and 16 oz.. These are the perfect size for arrangements. You can get your very own jars here.
Before heading into the garden, I also like to have a third jar filled with water to bring with me. This is used to immediately place the cut zinnias into. This will allow them to stay hydrated as you harvest and look their best.
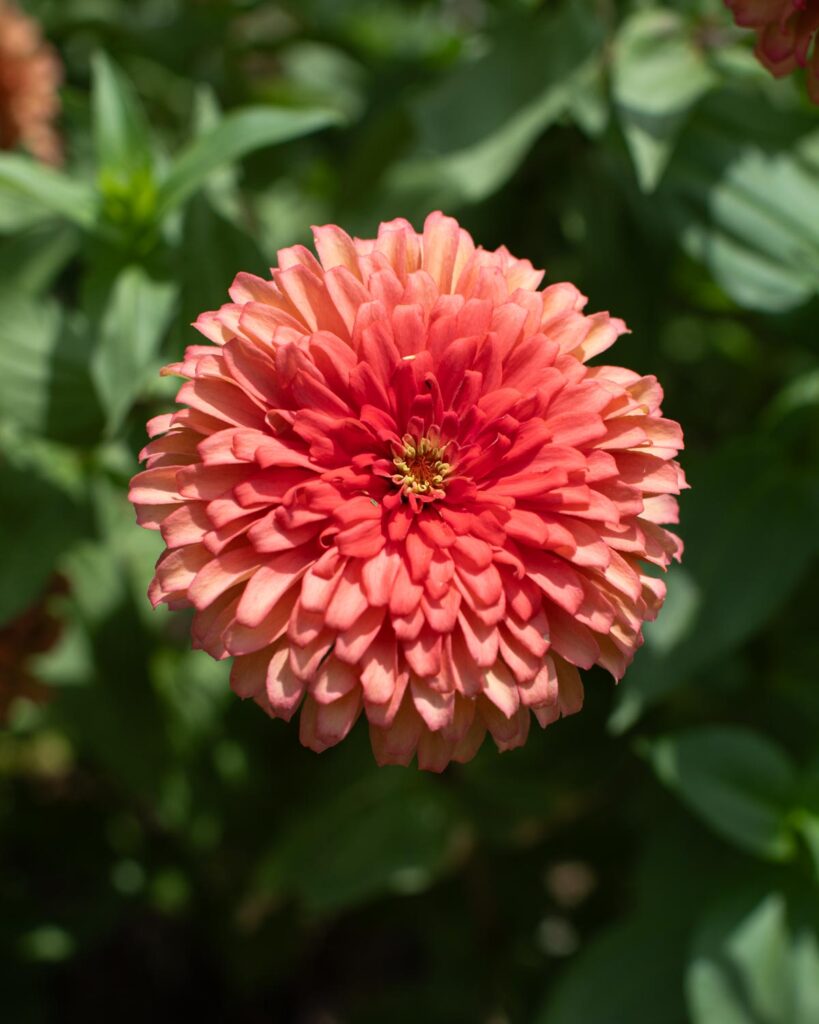
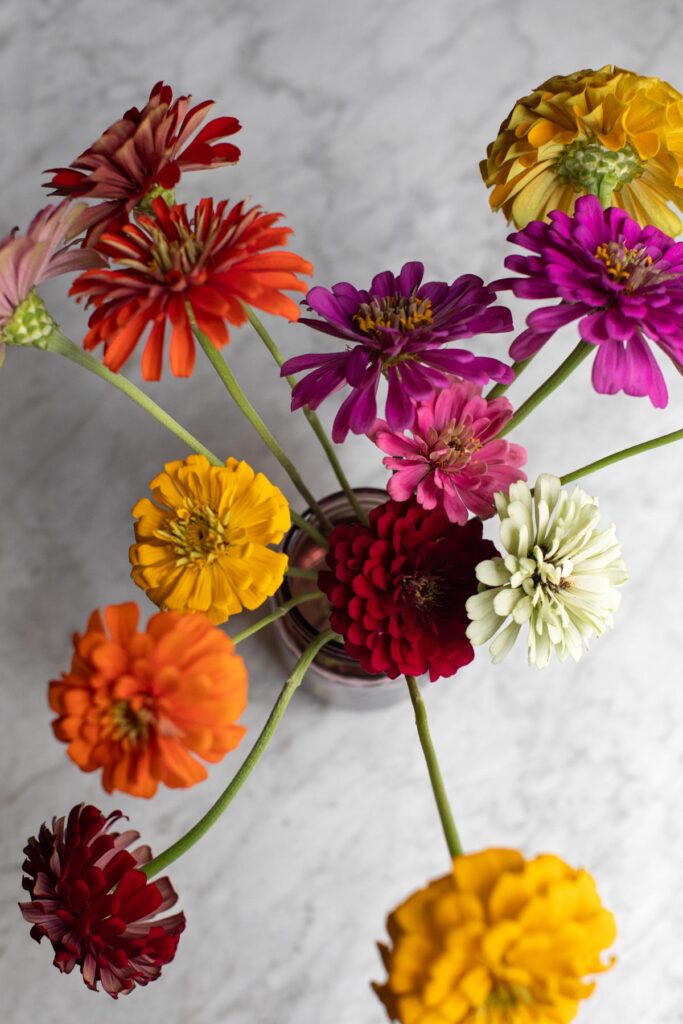
How to select the best zinnias
When choosing your zinnias, you want to look for big beautiful flowers that are in the process of fully opening. Look at the image above: you can see the flower looks nicely bloomed with a tight cluster in the middle. This means it will continue to open and last a long time once cut. You can certainly cut and use flowers that are even more open, they just won’t last as long.
The other tip is to give the stem and flower a little jiggle with your fingers. The stem should feel stiff and sturdy. If it is wobbly, the flower won’t last quite as long in the vase and I usually will skip those.
Hot tip: you can always remove any zinnias from your arrangement that aren’t looking too hot as time goes on. It is inevitable that some zinnias will last longer than others. You can always clean up the arrangement as you see fit! Don’t stress over a perfect harvest.
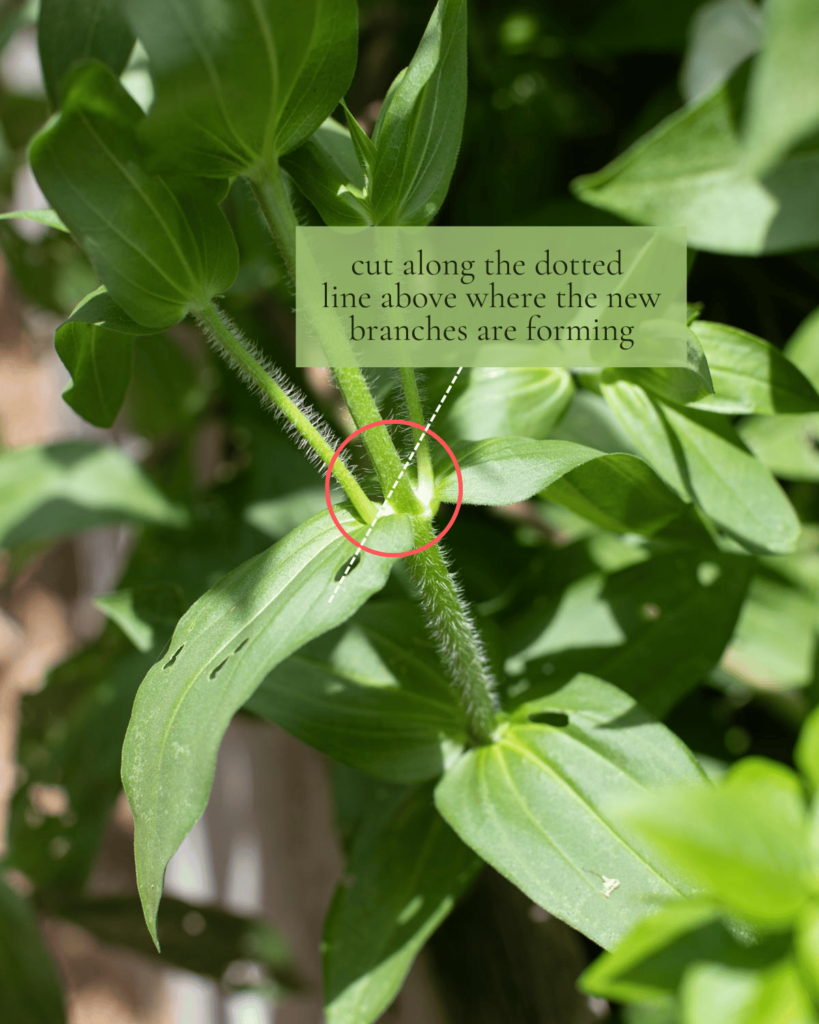
HOW AND WHEN TO CUT ZINNIAS
When harvesting zinnias, you want to cut them right above any new stems. Once you find a flower that you like, follow the stem all the way down to where it’s branching out. (This can either be one to two side branches.) Cut the stem on a diagonal as far down as you can. This will promote the side shoots to grow into new flowers!
If you are trying to harvest very long stems for your arrangement, you cerainly can! You may have to cut some sections that are starting to branch out. You may not mind to do this but just be aware that you will be cutting off potential blooms.
As a rule of thumb, you should cut zinnias in the morning, evening, or when it is cloudy out. (Just think when it is cooler.) I have definitely cut some during full sun and as long as you are quick they should be fine. Just remember to move fast. Once again, I also recommend bringing a jar of water outside with you. This way you can place the cut zinnias in fresh water immediately after harvesting.
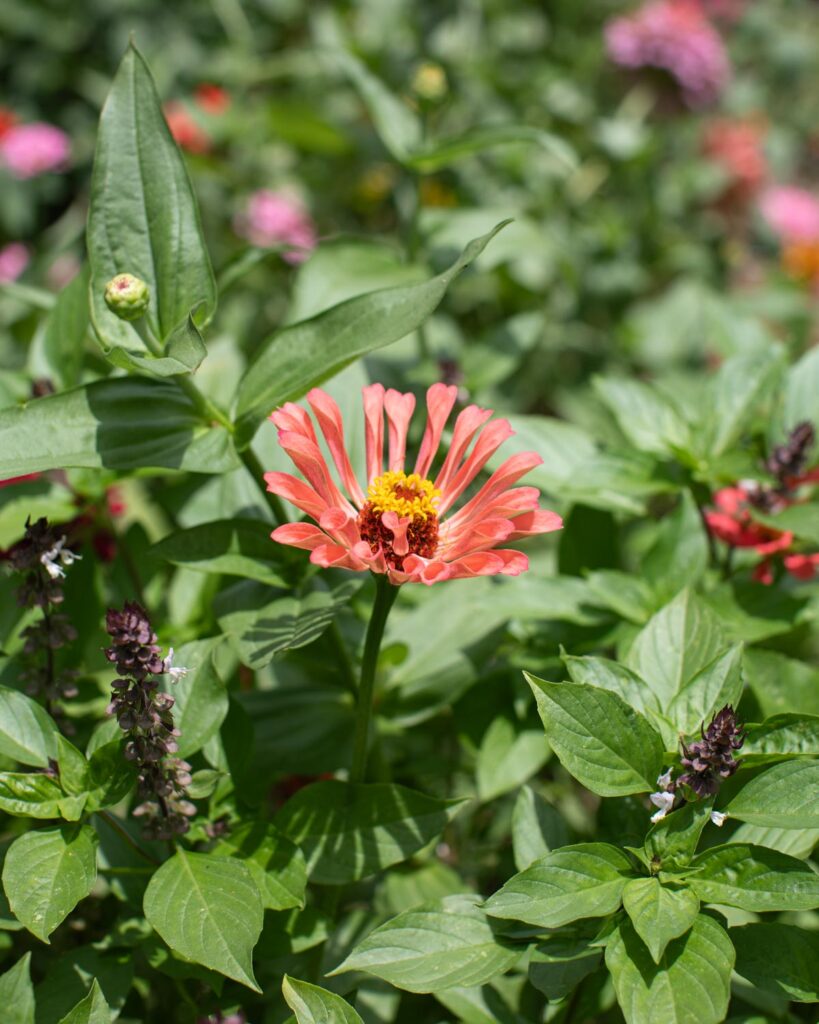
This is an example of a thinner, less full zinnia that I skipped over and left for the butterflies to enjoy. Did you notice that it’s intertwined in a bush of flowering basil? I’ll use this as a friendly reminder to try making my ‘Bruschetta’! It’s an oldie but goodie on the blog.
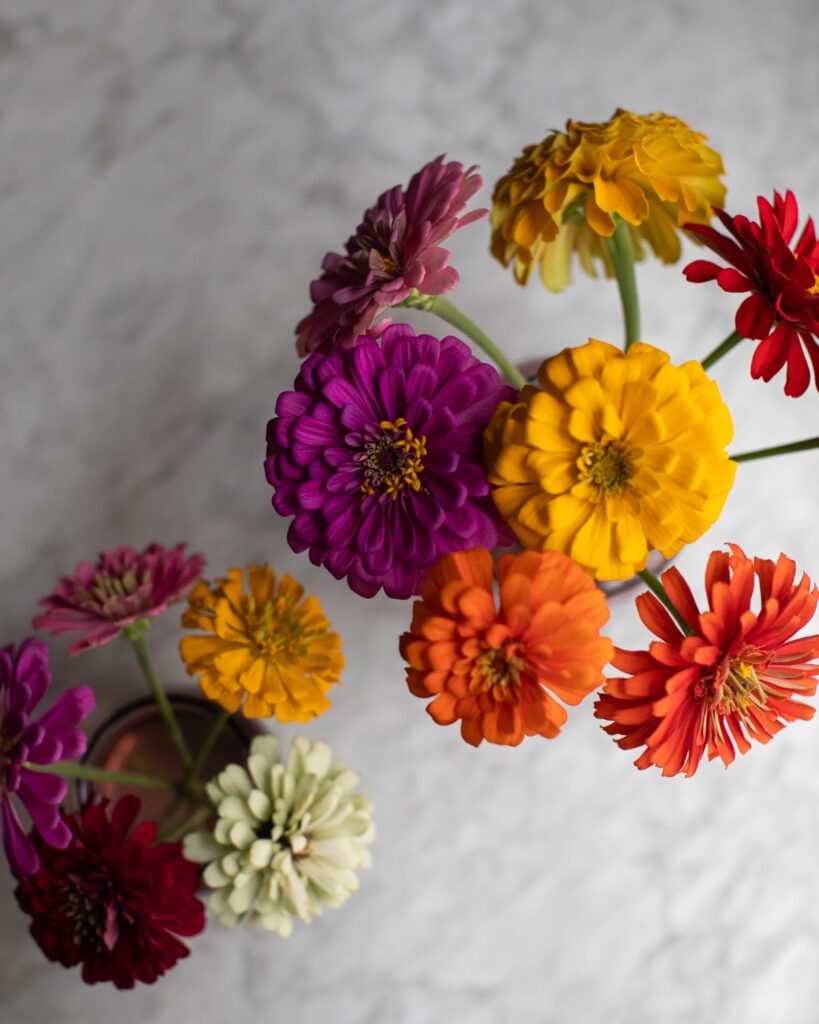
PREPARING THE ZINNIAS
Once you are back inside, it is time to clean up the zinnias and start arranging. I like to lay them out on the counter and remove the leaves. I personally believe that removing them will allow them to last longer and I also think it looks cleaner. But you can leave the leaves on if you wish!
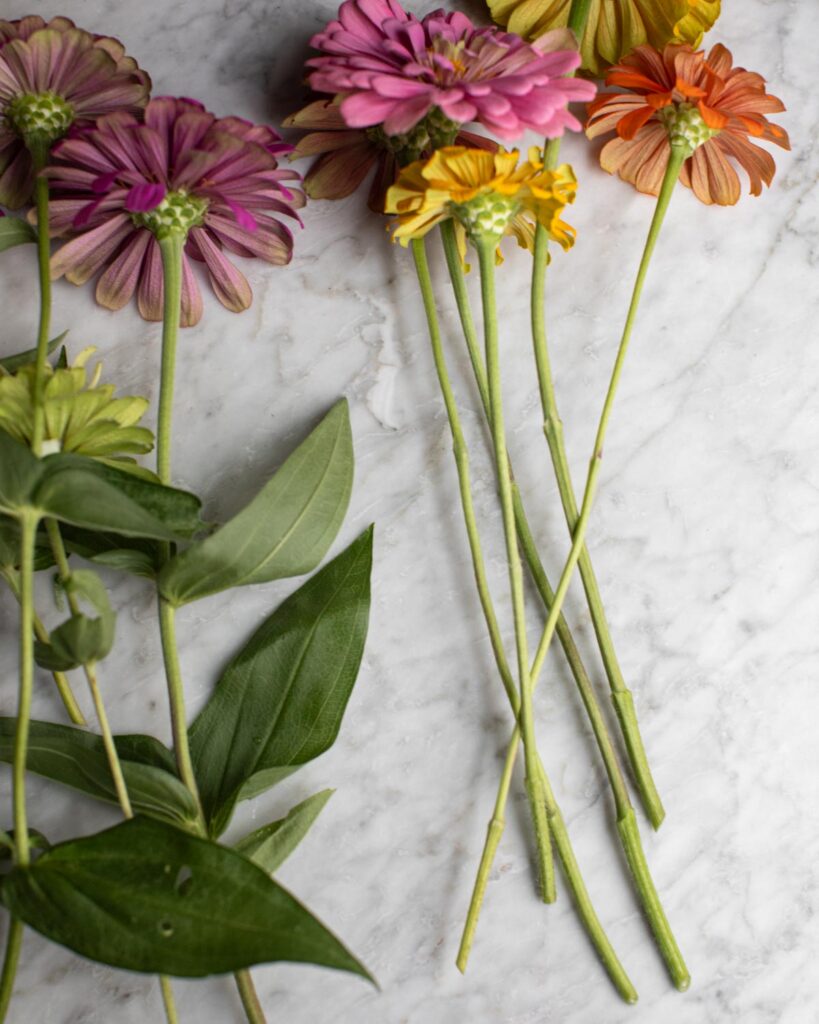
To remove the leaves, simply hold the top of the stem underneath the flower with one hand. Using your other hand, place two fingers above the leaves, squeezing tightly, and pull down. The leaves should come right off! Just make sure to be careful as to not bruise or bend the stem. Place them back into the jar of water you used when harvesting until ready to arrange.
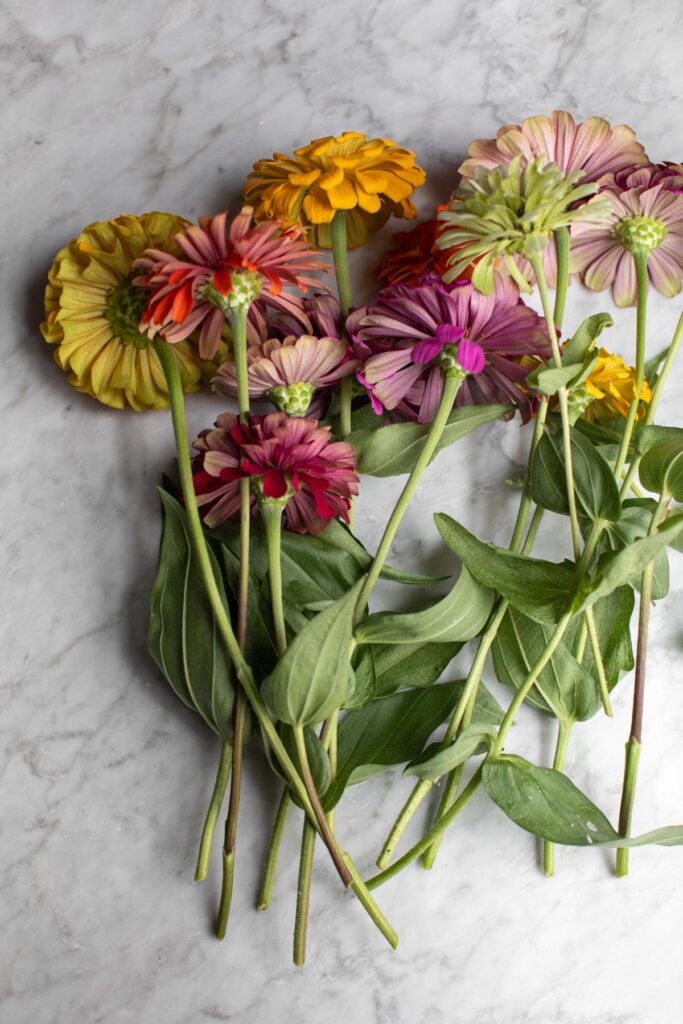
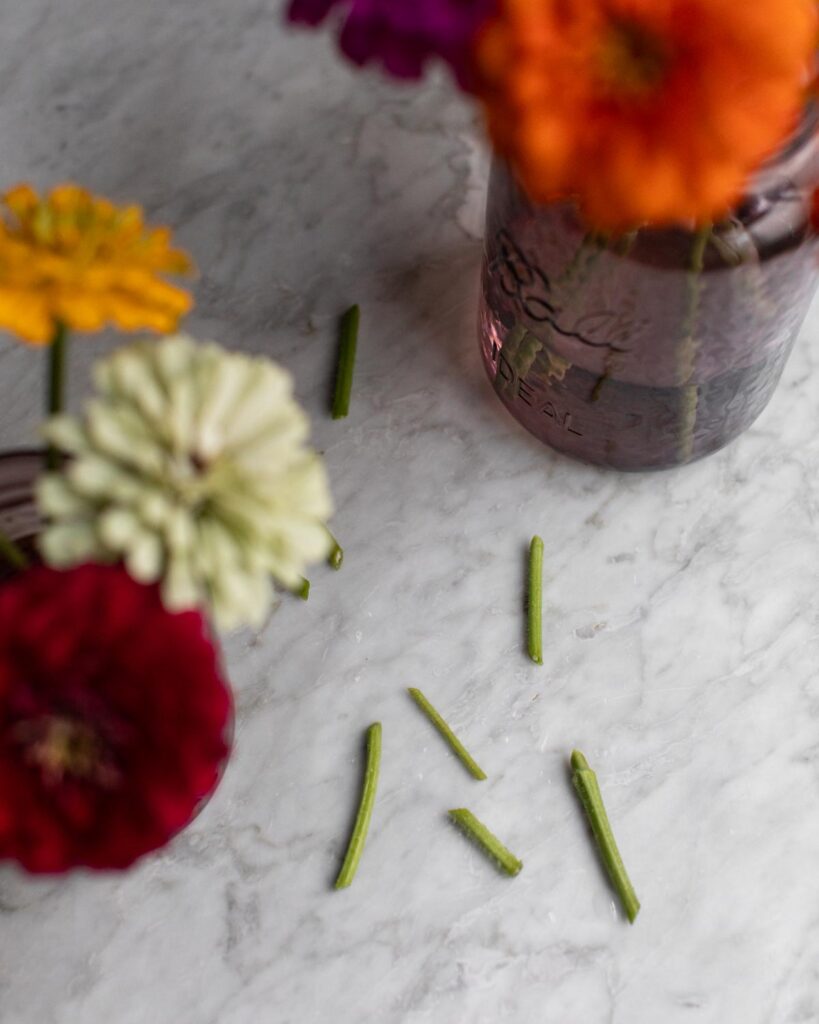
TRIMMING THE STEMS
Now it’s time to trim the stems. As you can see in the image above, my harvest had a range of short and long stems. This is totally normal! I like to take all of the long-stemmed flowers out first and place them in the larger jar. You can go for a tighter cluster of flowers, creating more of a bouquet shape. Or you can leave some space so that they are more airy and less dense. Either way they will look gorgeous!
ARRANGING
Before placing them in the jar, I suggest holding them together in a cluster. Then trim the stems so that they are fairly even. (I like to leave the biggest flowers slightly longer for the center of the arrangement, so keep that in mind.) Before trimming, make sure all the flower heads are even. Then place the flowers in their new vase.
Now you can decide which ones you’d like to trim further. If you notice one flower that’s a bit too tall, try placing it more in the middle. Then move the shorter ones to the outside of the arrangement. If they still need to trimmed, continue to cut them on a diagonal until you are happy with the length. There is no right or wrong when it comes to arranging, so have fun!
Once the larger arrangement is done, I like to take the shorter stemmed flowers and arrange them in the smaller vase. I usually put this smaller arrangement in the bathroom and the larger one on the dining table. Of course, placing one in the guest room while someone is visiting is always a nice touch.
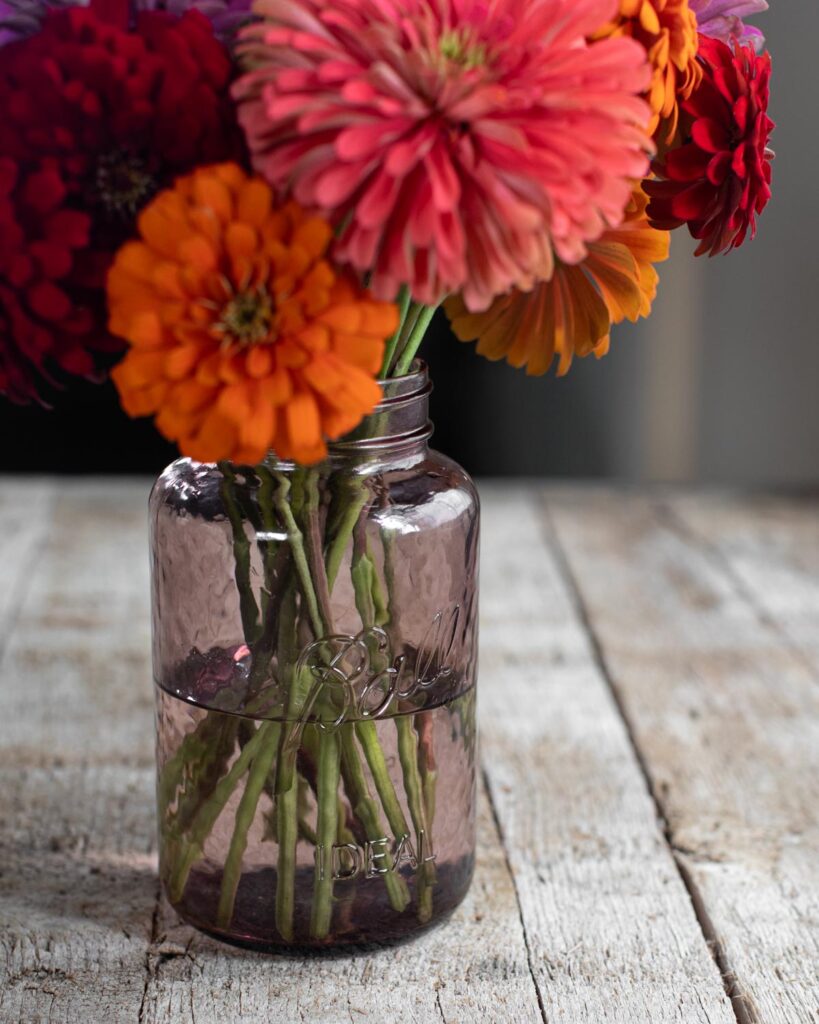
HOW MUCH WATER TO USE
When it comes to water, don’t fill the jar all the way to the top. You only need to fill it halfway or just until the bottoms of the stems are fully submerged. To increase the life of your flowers, replace the vase with fresh water every few days. If one of the flowers is starting to look sad, you can simply remove it from the arrangement.
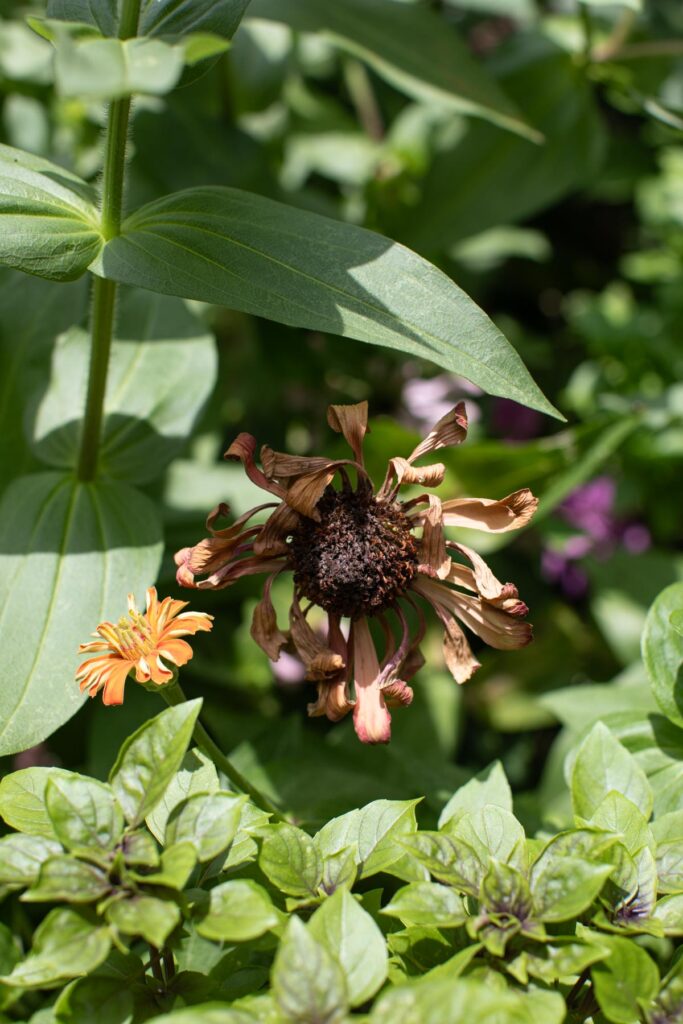
DEADHEADING
One final tip I wanted to mention is deadheading your zinnias. While harvesting the fresh flowers, keep an eye out for the dead and dried up ones. You will remove them just like harvesting fresh flowers. Follow the stem all the way down to where any side shoots are coming off and cut. This will encourage new growth and help prevent the zinnias from falling over from the weight of the dead flowers.
Once you cut off the dead flowers, you can simply toss it down to the ground to break down. (They are likely to sprout again!). You can also save the flower head which is full of seeds! (When saving seeds, make sure the head is fully dried out so that the seeds are viable.)
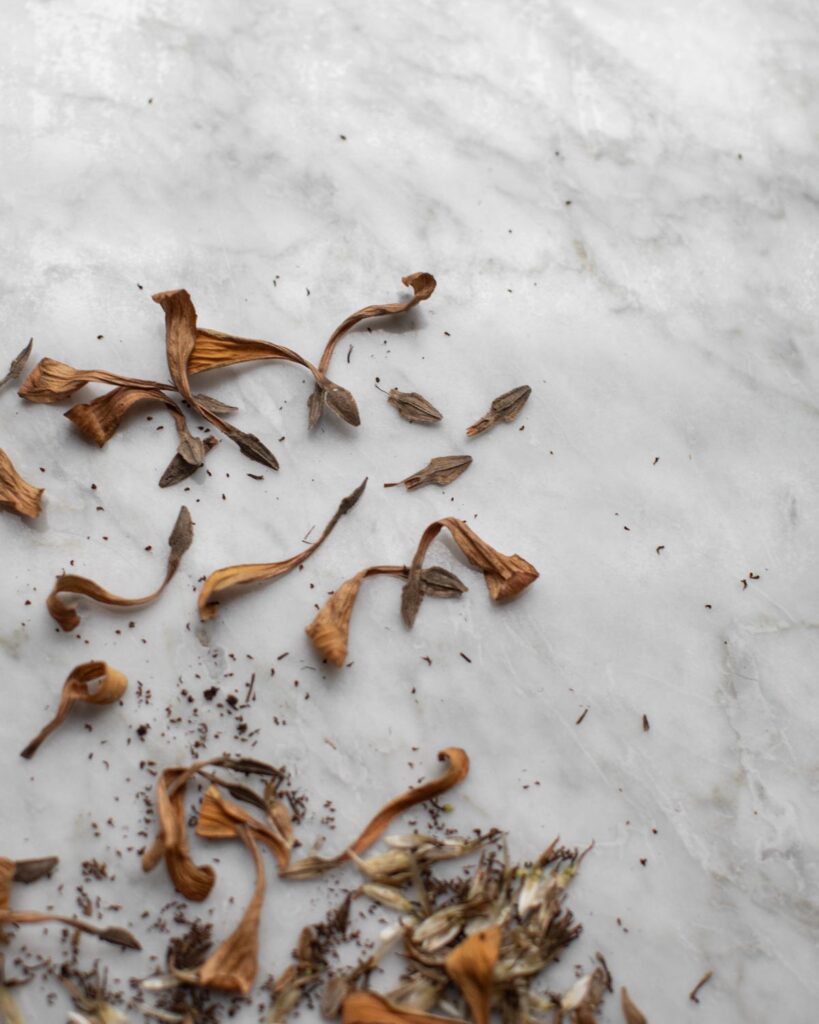
SEED SAVING
Here we have a dried-up flower head that I broke apart. See those little triangular, arrowhead-shaped pieces? Those are zinnia seeds! Store them in a cool dry place until you are ready to grow them again.
Here is one other trick I like to do for seed saving:
Look for a zinnia plant that is doing really well or has a particularly gorgeous color. Then tie some twine around the stem. Once the flower has died and completely dried out, locate the twine and remove the flower head. Place the seeds in an envelope for the next season.
THANK YOU FOR BEING HERE!
Well, there you have it folks! My guide for cutting and arranging zinnias. I will definitely be working on a separate guide for growing zinnias from seed. Keep an eye out for that! Also, if you’d like to know my seed recommendations to get you started, check out my shop page. Lastly, here is the link to the limited-edition vintage Ball® jars that I’m using in this post.
Please let me know if you liked this post by leaving a review and a comment below. I’d greatly appreciate it.
Happy summer, y’all!
Timothy

Thank you! Very simple and easy to understand for someone (me) new to Zennias!
Of course! Just planted over 200 hundred zinnia seeds for this season and they are all coming up! Make sure to pinch the tops when you grow them so you get tons of flowers. Happy gardening!
Thank you very much. This was a very simple and easy to follow site and I learned so much. I’m going to my flower garden now!
Happy to hear! Thank you!
Just ordered my rose jars! Beautiful!
Oh fabulous!! I am obsessed with mine. I hope you love them!
Zinnas are my favorite flower also!! Thanks for the instructions on how to save the seeds, I really wasn’t sure but now I will be ready for next spring. Here in New Jersey we have been getting so much rain. 🤞🏻Hope for 🌞my zinnia need it 😁
You are very welcome! Happy to share. Thank you for being here! Cheers to your zinnias soaking up some much needed sun! Happy gardening.