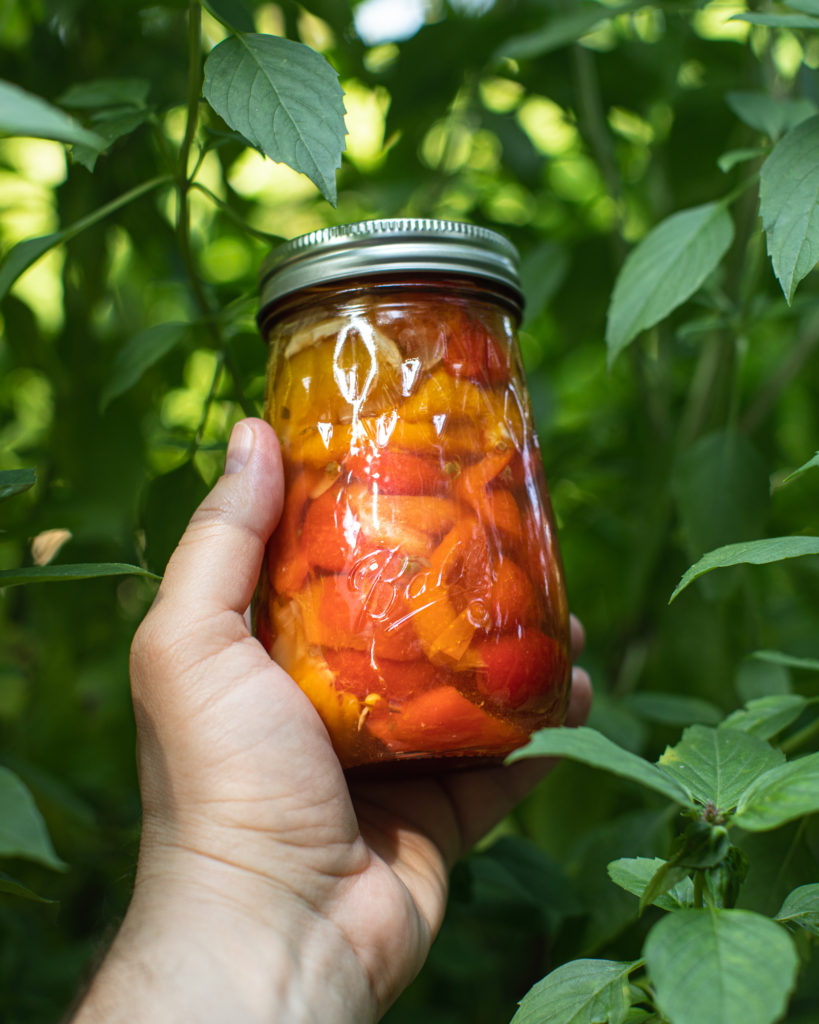
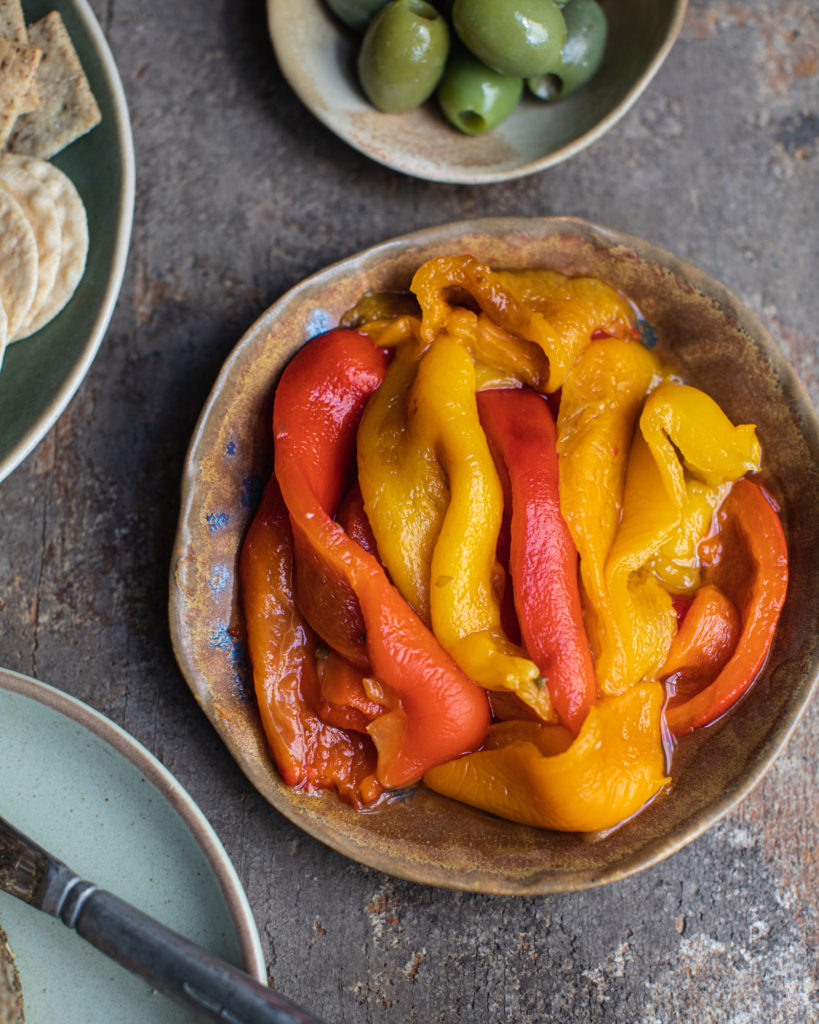
Hi friends! I’m excited to share a brand new recipe: Pickled Roasted Peppers. Have you ever tried them? They are succulent and juicy, tangy and sweet, and utterly delicious. Enjoy them on their own or use them to liven up a large assortment of dishes. By roasting the peppers until charred- two things happen. 1) The flavor of the peppers is intensified and concentrated. 2) The tough skins of the peppers become wrinkly and incredibly easily to peel off. Once roasted, the firm and raw flesh of the peppers will transform into something completely different.
By cutting them into strips and pickling them with vinegar, dried oregano, chopped onion and a little bit of sugar and salt- they absorb additional flavor and become a true summer delicacy. Perfect for using as a topping to pizza and salads, adding to a sandwich, blending up into dressings or sauces, or serving on a cheeseboard or antipasto platter- pickled roasted peppers are an absolute treat that I am sure you will love.
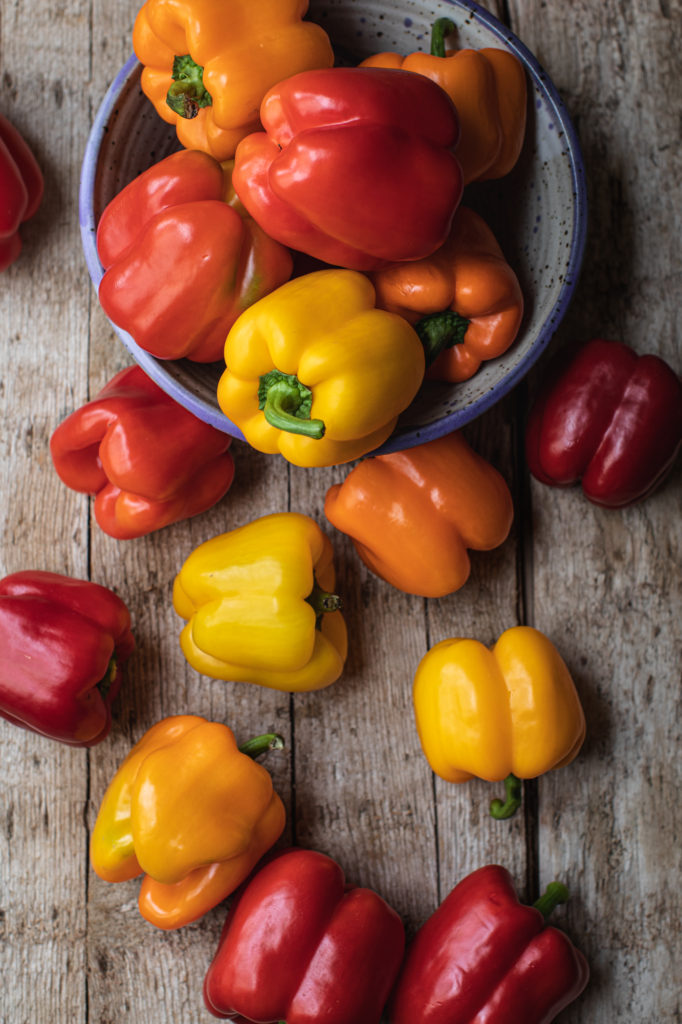
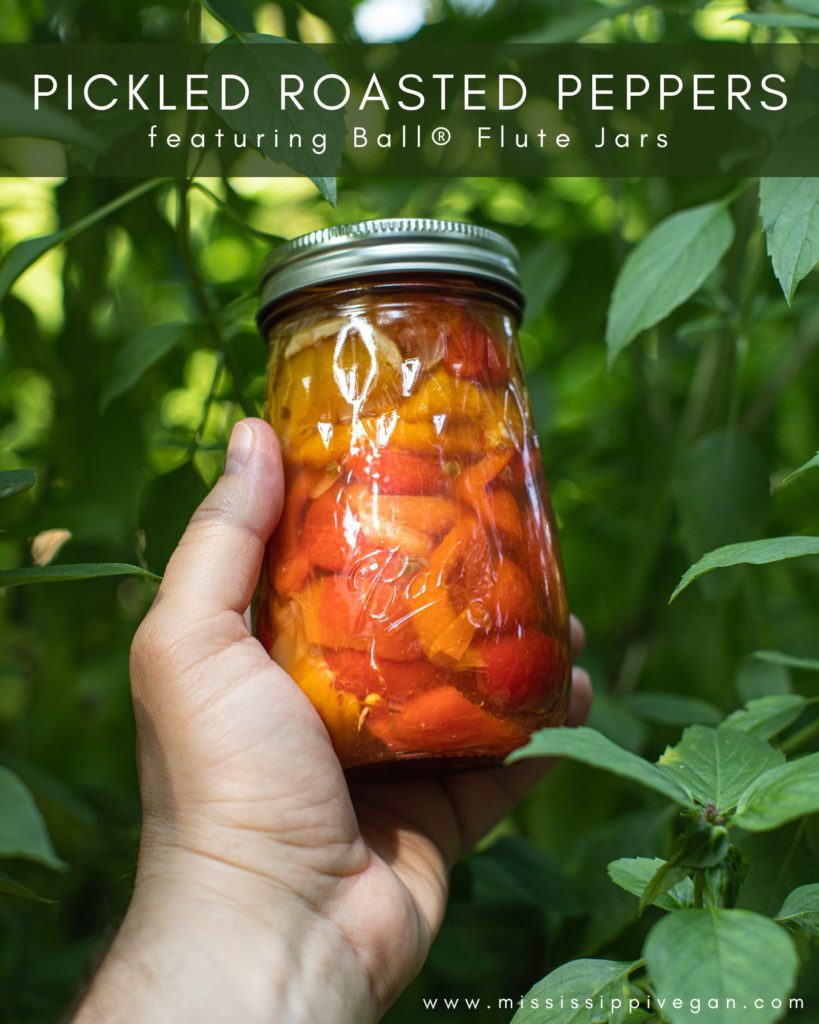
Before we dive in to the recipe, I want to let you know that the makers of Ball® home canning products are sponsoring this post. In fact, this recipe comes from their very own collection! As a long-time Ball® user, I am happy to be teaming up with them to showcase this beautiful technique of preserving food. Water bath canning is a great way to create shelf-stable condiments that can preserve produce at its peak freshness. The fact that I can take the vibrancy and ripeness of all of these colorful peppers you see above and consolidate and preserve them into glass jars to be enjoyed throughout the year is incredibly satisfying. I also think that this recipe is a great place to start if you have never canned food before. The ingredient list is simple and the process is straightforward.
For these Pickled Roasted Peppers, you will need to buy 20 medium bell peppers. I like to use a mix of different colors because I think it makes for a more beautiful final product, but you can certainly use just one color. When looking for peppers, try to find ones that are firm in texture with no soft spots. The more concentrated in the color, the more ripe the pepper will be.
ROASTING THE PEPPERS
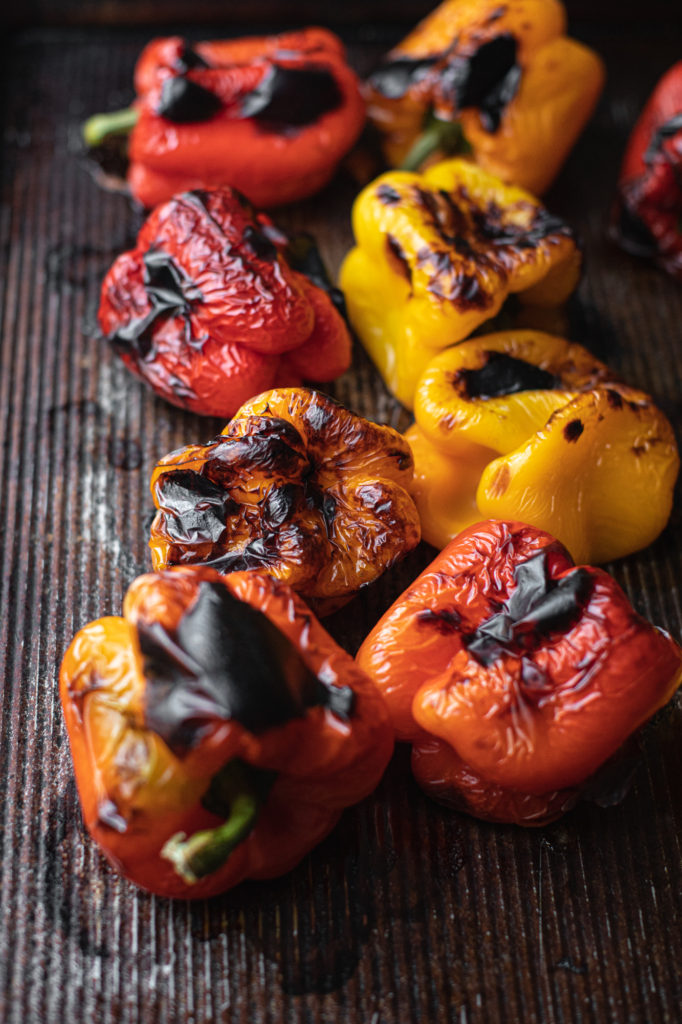
Roasting peppers is a very fun process and a great technique to use for so many vegetables. One of the great reasons for doing this with bell peppers is it makes removing the skins very easy. Once broiled on each side, the peppers look like a hot mess (literally) but after they rest for about 15 minutes, the skins will slide right off. The flesh underneath turn outs succulent and sweet (not charred!) and ready to use for the next step.
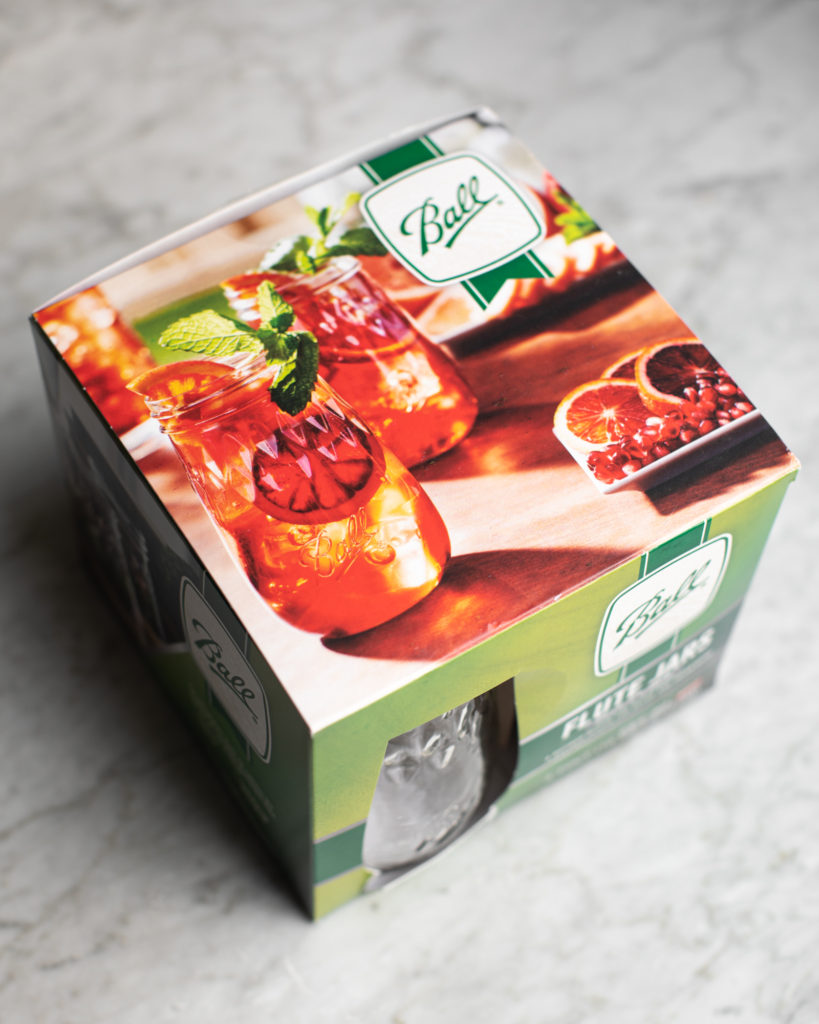
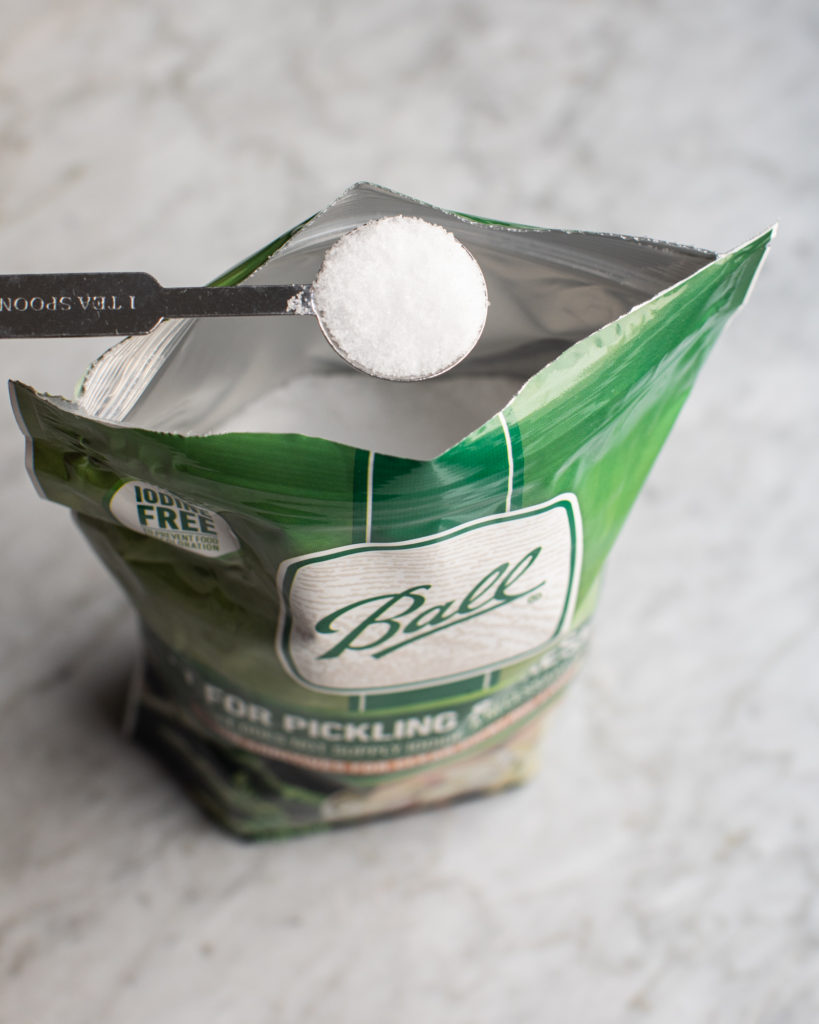
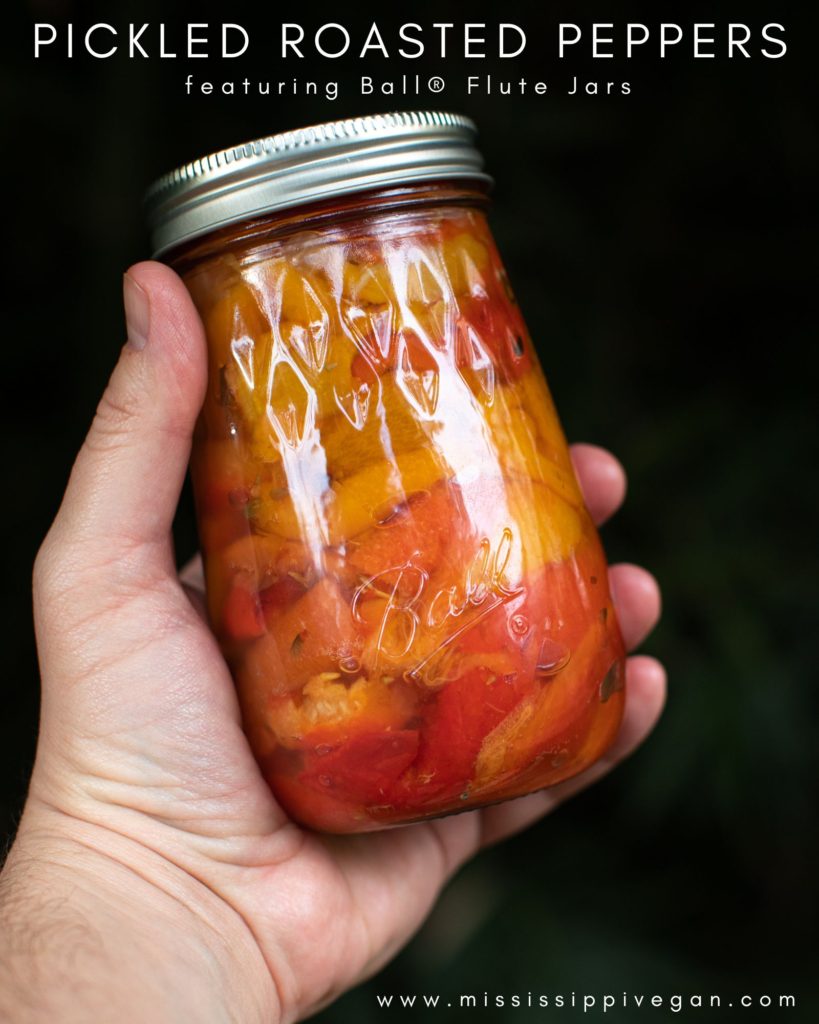
For this recipe we will be using 16 oz. pint jars. I absolutely adore the Ball® Flute Jars and they work beautifully with this recipe. With their refined design and engraved diamonds, these jars add an elegant touch to any creation or occasion. They are also safe for canning, BPA-free, and made in the USA! For seasoning and preserving purposes, this Ball® recipe recommends using their pickling salt which has no additives or anti-caking ingredients and is iodine-free to prevent food discoloration. You can purchase the jars here and the salt here.
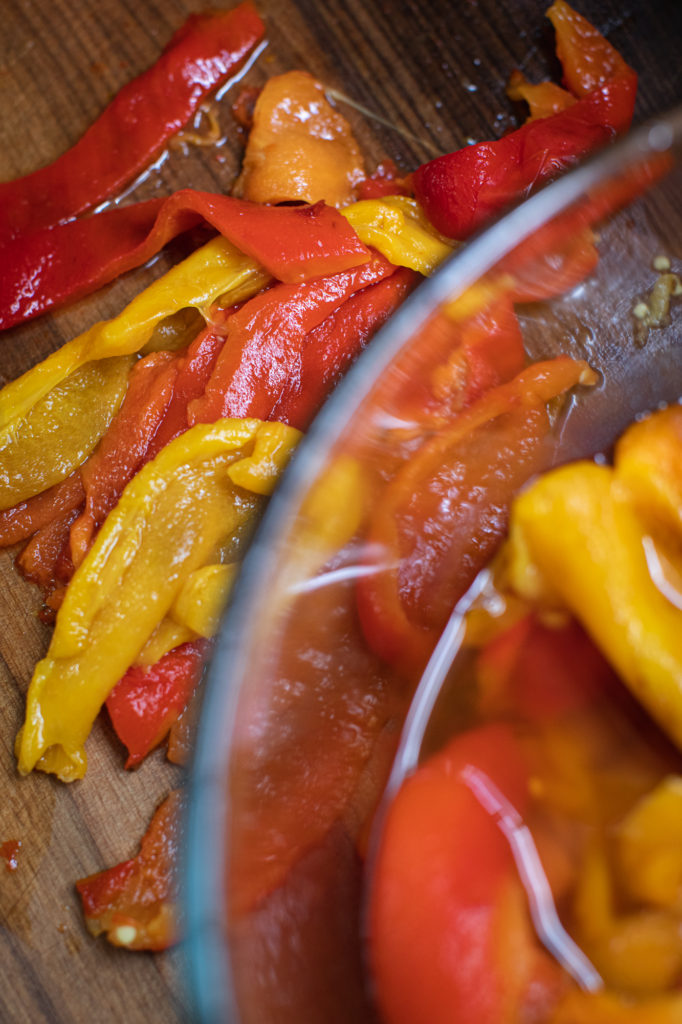
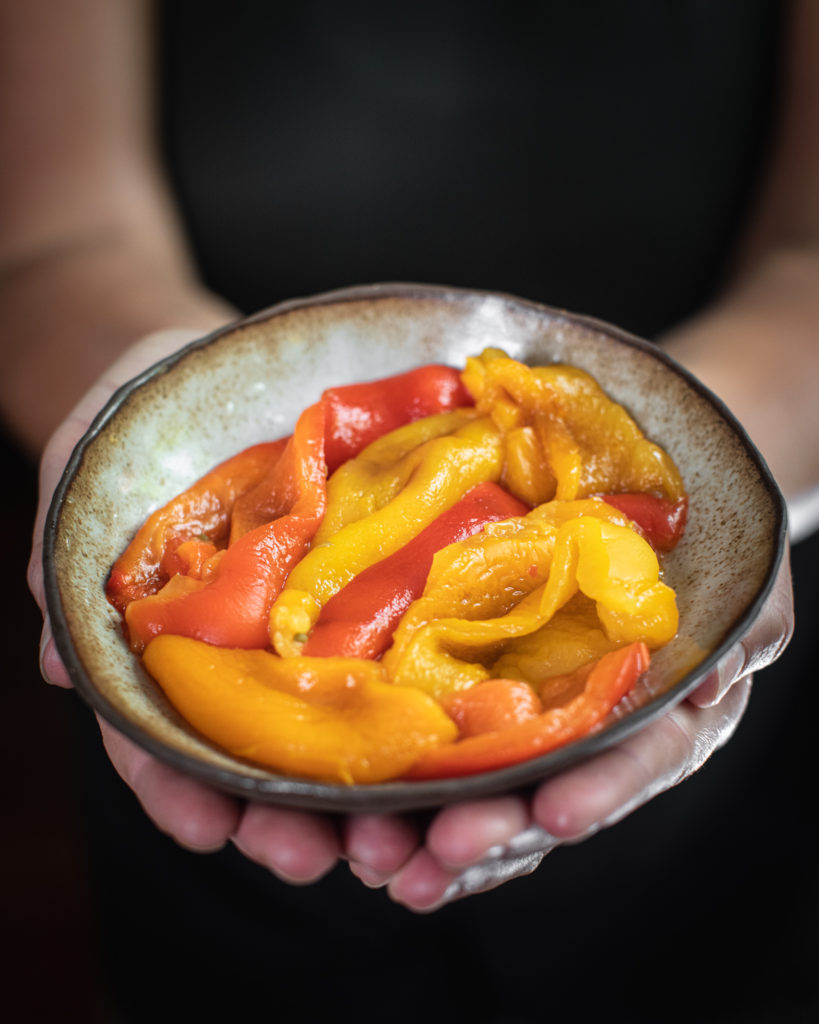
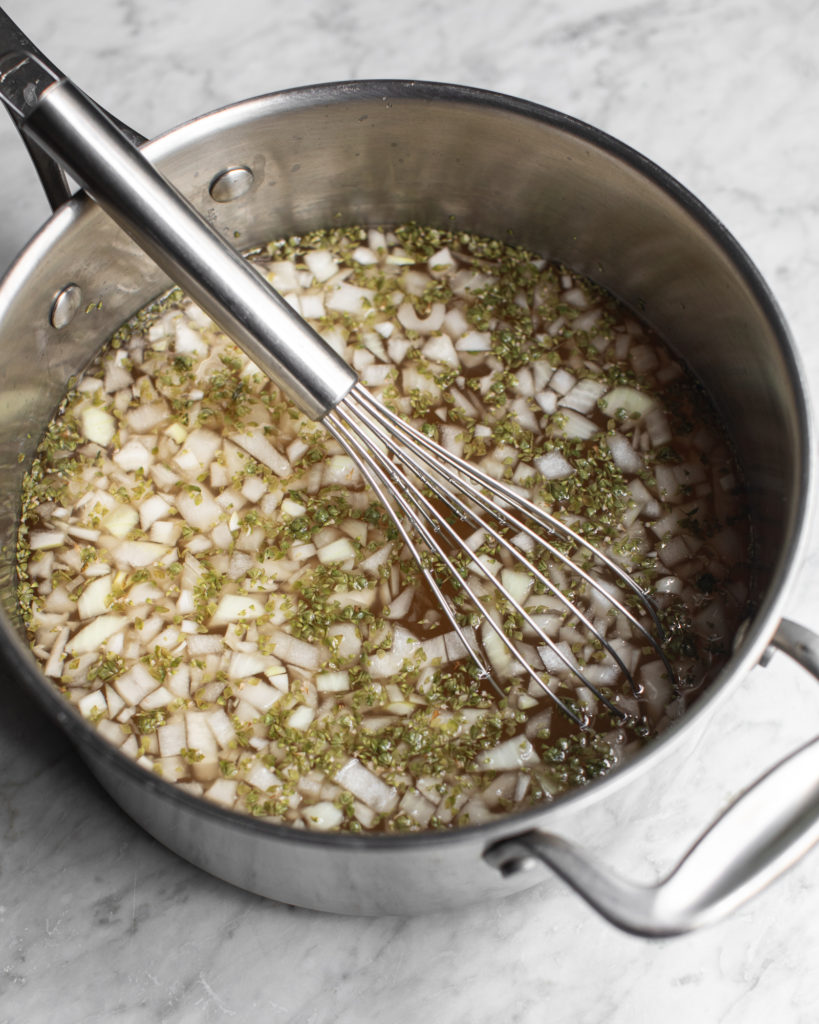
Once you roast the peppers, remove the seeds and skin, and slice them into strips. You will then pack them into sanitized jars. Then fill the jars with a simple pickling liquid. The liquid is vinegar, chopped onion, dried oregano, salt and sugar.
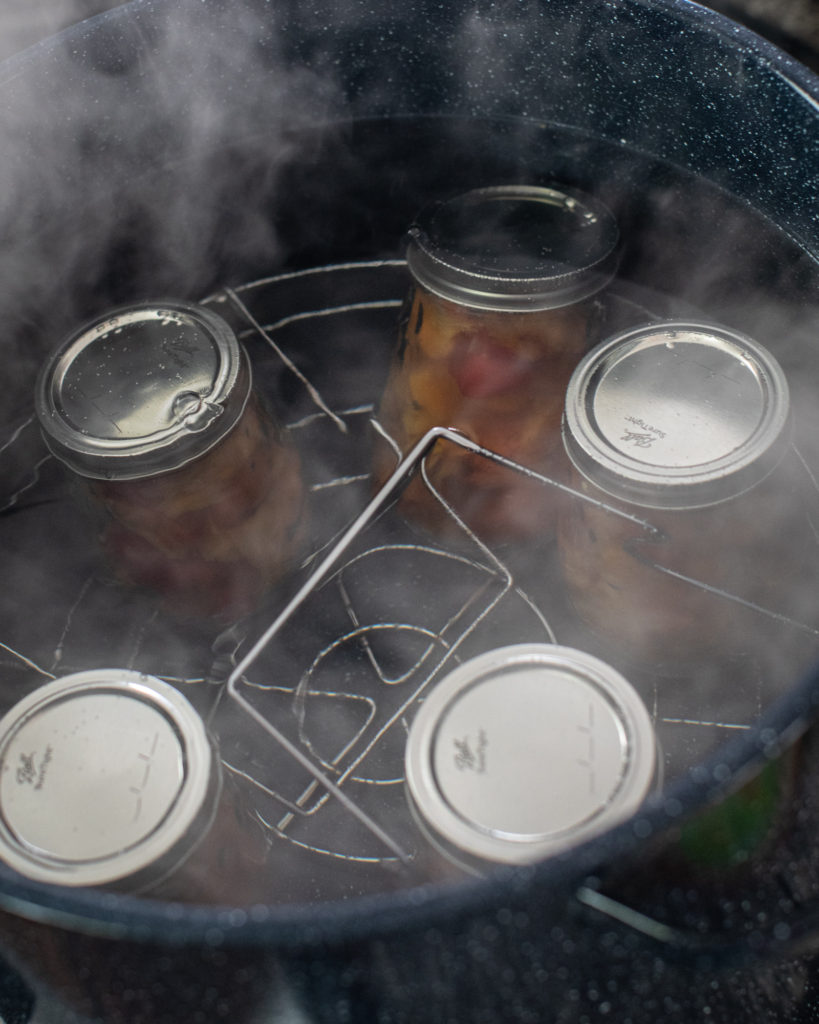
Once the jars are filled with both the peppers and the liquid, there should be 1/2 inch of headspace at the top. Then the wipe the rim clean and center the lid on top of the jar. Apply the band until the fit is fingertip tight. They are now ready to be put in boiling water for 15 minutes. Once done, you will transfer them to a wooden cutting board to cool for 24 hours. Feel free to check out these super helpful videos on the Ball® website. They will help you better understand the process. Please note that I have more detailed information about this process on another blog post of mine, if you are curious.
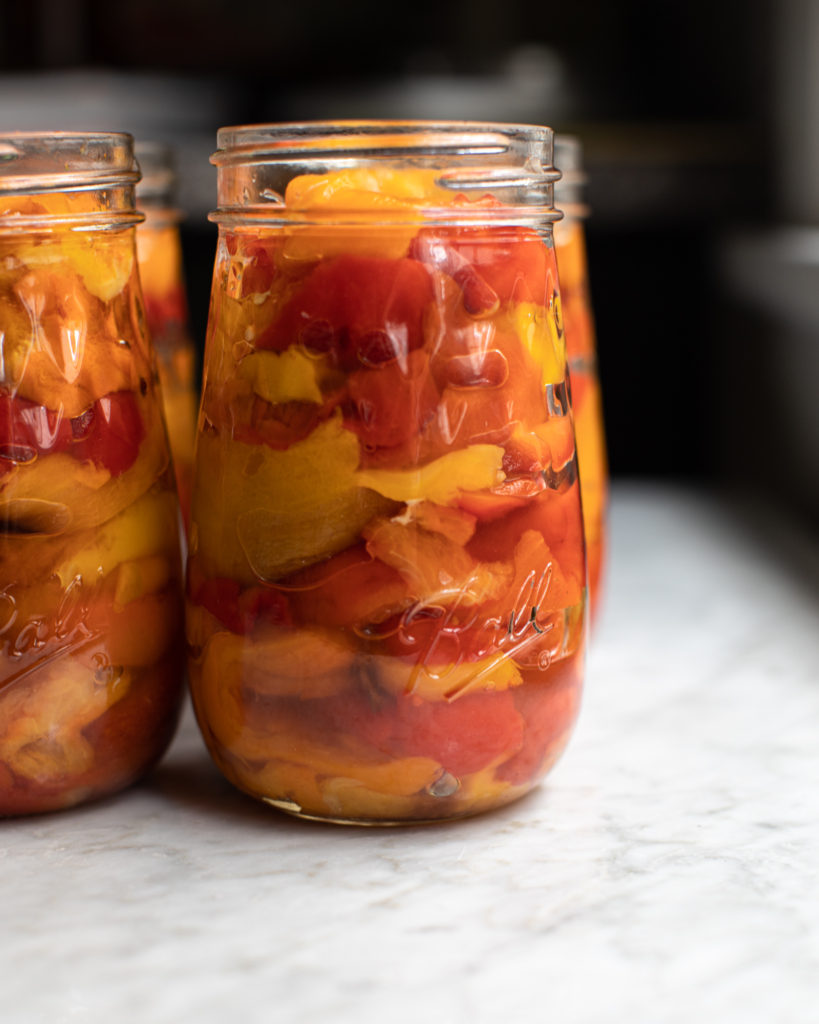
STORING THE PICKLED ROASTED PEPPERS
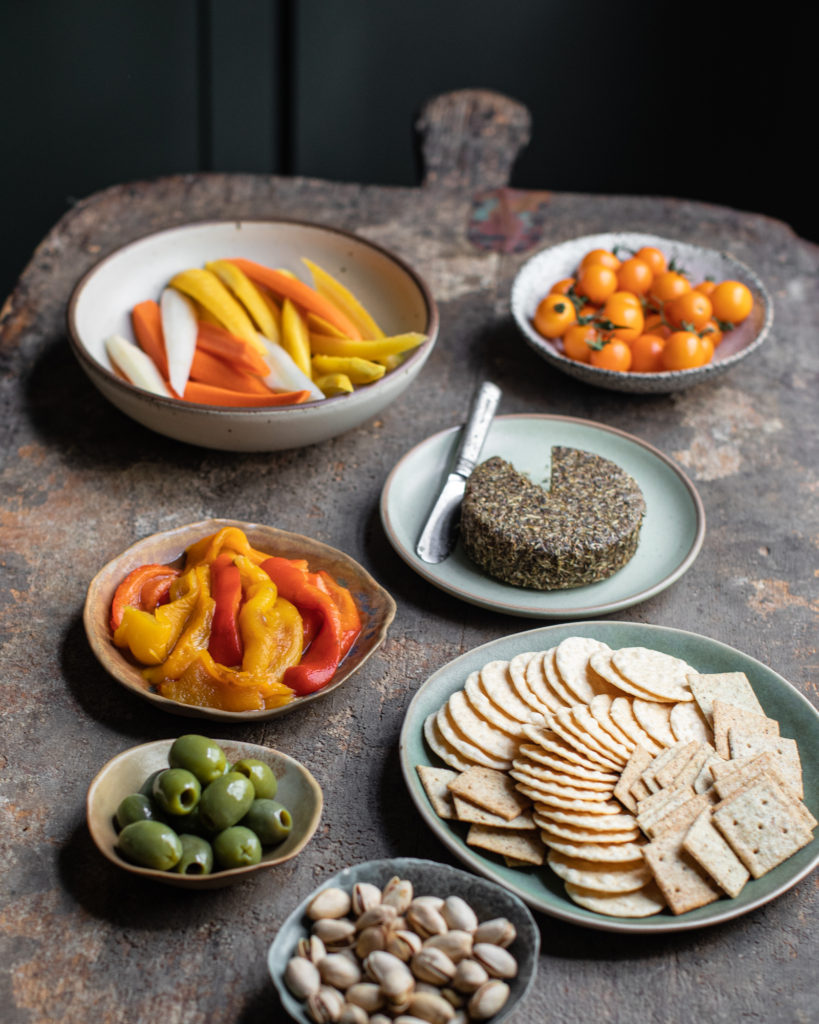
Once they are processed and fully cooled, these fabulous pickled roasted peppers can be stored in the pantry for whenever you’d like! I love enjoying them on their own but they are particularly delicious on a sandwich or in a wrap. You could also make a fabulous romesco sauce with them or use them as a pizza topping. And last but not least, they work beautifully on a snack board. Below we have a spread of cashew-herb cheese, cherry tomatoes, pistachios, crackers, olives, carrot sticks, and, of course, the pickled roasted peppers. A lovely appetizer that could be pushed and pulled in many different ways.
Well, that’s all for today folks. I hope that you have enjoyed this blog post. If you try this recipe, please let me know in the comments below. Here’s a big thank you to the makers of Ball® home canning products. Not only for sponsoring this post, but also sharing their recipe with us. Happy cooking!
IF YOU LIKE THESE PICKLED ROASTED PEPPERS CHECK OUT THESE OTHER RECIPES
-Timothy
20 medium sweet red, orange and yellow bell peppers (one variety or a mix!) To remove air bubbles and to help incorporate the pickling liquid throughout the whole jar, use a headspace measuring stick. Do not use a metal utensil!
Ingredients
4 large cloves garlic
1½ cups white vinegar
1½ cups cider vinegar
1½ cups dry white wine
½ cup water
1 cup coarsely chopped onion (about 1 large)
½ cup granulated sugar
2 tablespoons dried oregano
4 teaspoons Ball® Salt for Pickling and PreservingInstructions
notes
If there is any leftover pickling liquid, use it to make some quick pickled onions. Simply combine the liquid with some sliced red onions and keep stored in a tightly sealed jar in the fridge for up to a week.
*Disclosure: This is a sponsored post that is part of an ongoing partnership with the Fresh Preserving Division of Newell Brands. They have provided jars, equipment and monetary compensation. All thoughts and opinions expressed remain my own.
2 comments
how long do you roast the bell pepper for?
Hi Kim, that depends on your oven and the strength of your broiler. I cannot give you an exact time but I would just keep any eye on them for 5 minutes, check to see if they are charred, and add additional time as needed and flip them until they are charred all around using tongs. If you cook them over a flame, you can also char them this way. I would definitely use the visual cue of being charred all around rather than focusing on a specific time.